Are your bike’s brakes feeling less sharp than before? Changing your bicycle brake pads might be the simple fix you need to ride safely and confidently again.
If you’ve never done it before, the process can seem tricky—but don’t worry. In this guide, you’ll learn exactly how to change your brake pads quickly and easily, even if you’re not a bike expert. Keep reading, and by the end, you’ll have the skills to keep your brakes working like new.
Your next smooth, safe ride is just a few steps away!
Tools Needed
Changing bicycle brake pads is simple with the right tools. Having the proper tools makes the task easier and faster. Each tool has a specific role in the process. Gather them before you start to avoid interruptions.
Allen Wrenches
Allen wrenches loosen and tighten bolts on the brake system. Most bikes use 4mm or 5mm sizes. A set with different sizes helps if your bike uses other bolts.
Tire Levers
Tire levers help remove the wheel from the bike frame. They prevent damage to the tire and rim. Use plastic levers to avoid scratches.
New Brake Pads
New brake pads replace worn-out ones. Buy pads that fit your bike’s brake type. Check if they are compatible with your brake model.
Cleaning Cloth
A clean cloth removes dirt and grease from the brake parts. Clean surfaces help new pads stick better. Use a lint-free cloth for best results.
Optional: Brake Cleaner Spray
Brake cleaner spray removes tough grime and oil. It prepares the brake surface for new pads. Use in a well-ventilated area and follow instructions.
Credit: www.youtube.com
Types Of Brake Pads
Brake pads are an important part of your bicycle’s braking system. They press against the wheel to stop or slow you down. Different types of brake pads suit different bikes and riding styles. Knowing the types helps you pick the right pad for safety and performance.
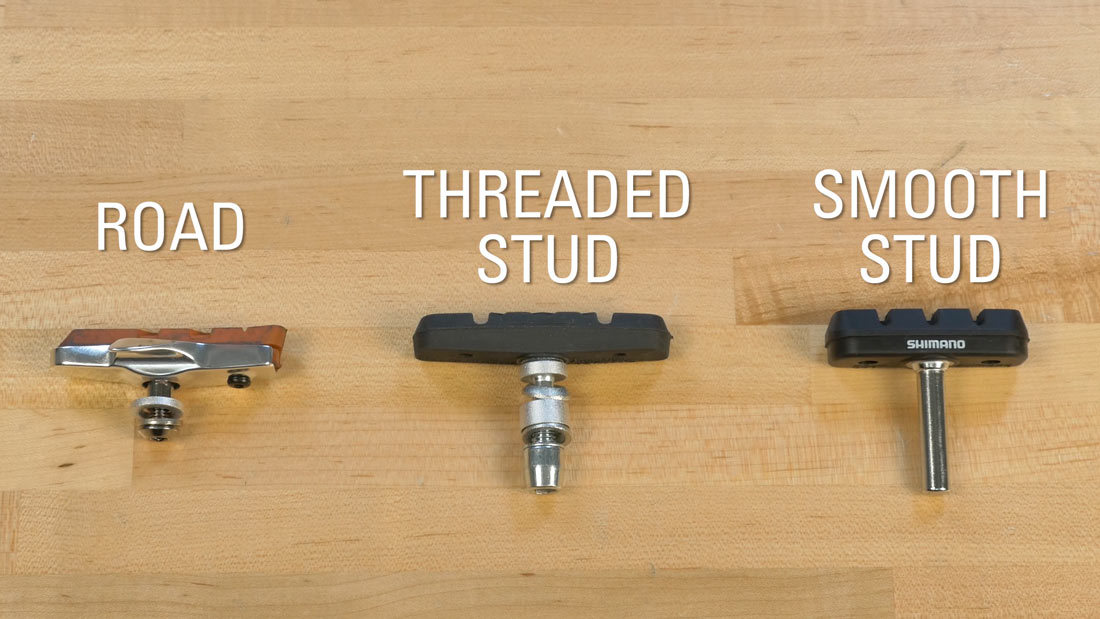
Rim Brake Pads
Rim brake pads press directly on the wheel rim. They work well on road bikes and older mountain bikes. These pads are easy to replace and come in various materials like rubber and composite. They perform best in dry conditions but may wear faster in wet or muddy rides.
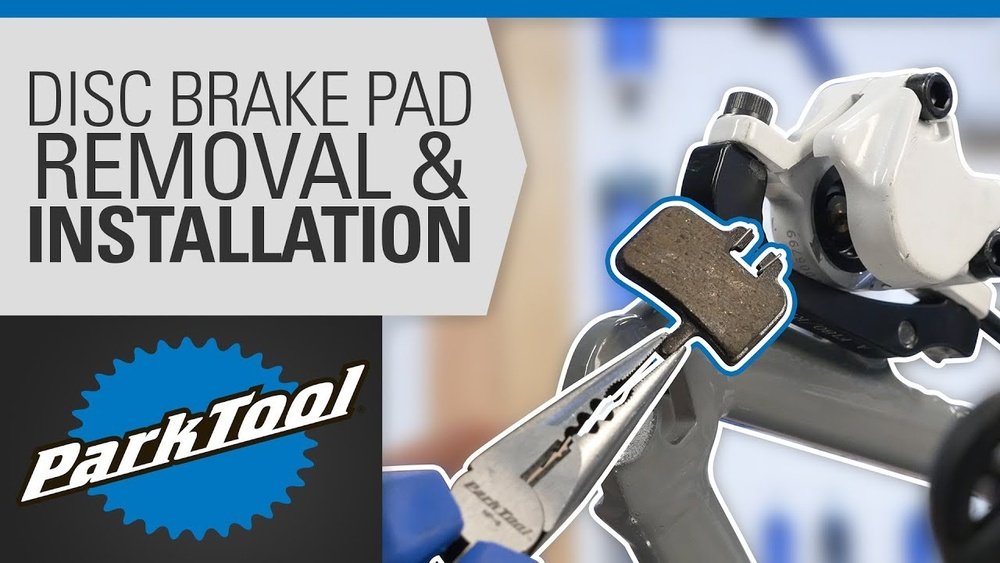
Disc Brake Pads
Disc brake pads press on a metal rotor attached to the wheel hub. They offer strong stopping power in all weather conditions. These pads come in two types: organic and metallic. Organic pads are quieter but wear faster. Metallic pads last longer but can be noisy.
V-brake Pads
V-brake pads are a type of rim brake used on many mountain bikes. They have a larger surface area for better grip. These pads are simple and cost-effective. They work well on dry and slightly wet terrain but may slip in heavy rain.
Cantilever Brake Pads
Cantilever brake pads fit cantilever brakes, common on touring and cyclocross bikes. They provide good stopping power and easy maintenance. These pads are similar to V-brakes but have a different mounting style. They suit riders who need strong brakes on rough roads.
When To Replace Pads
Bicycle brake pads wear out with use. Replacing them on time keeps you safe. Worn pads reduce stopping power and increase risk during rides.
Check your brake pads often. Look for signs that show it is time for new pads. This helps avoid accidents and costly repairs.
Visual Signs Of Wear
Inspect the pads closely. If the pad surface is less than 3 millimeters thick, replace it. Look for cracks or uneven wear too. Damaged pads do not stop well.
Reduced Braking Performance
Notice if your bike takes longer to stop. Squealing or grinding noises are warning signs. These sounds mean the pads might be worn out or dirty.
Pad Contamination
Oil or dirt on pads can reduce braking power. Clean pads can sometimes recover performance. Replace them if cleaning does not help.
Regular Mileage Checks
Brake pads last about 500 to 1500 miles. Track your riding distance. Replace pads around this range to maintain safety.
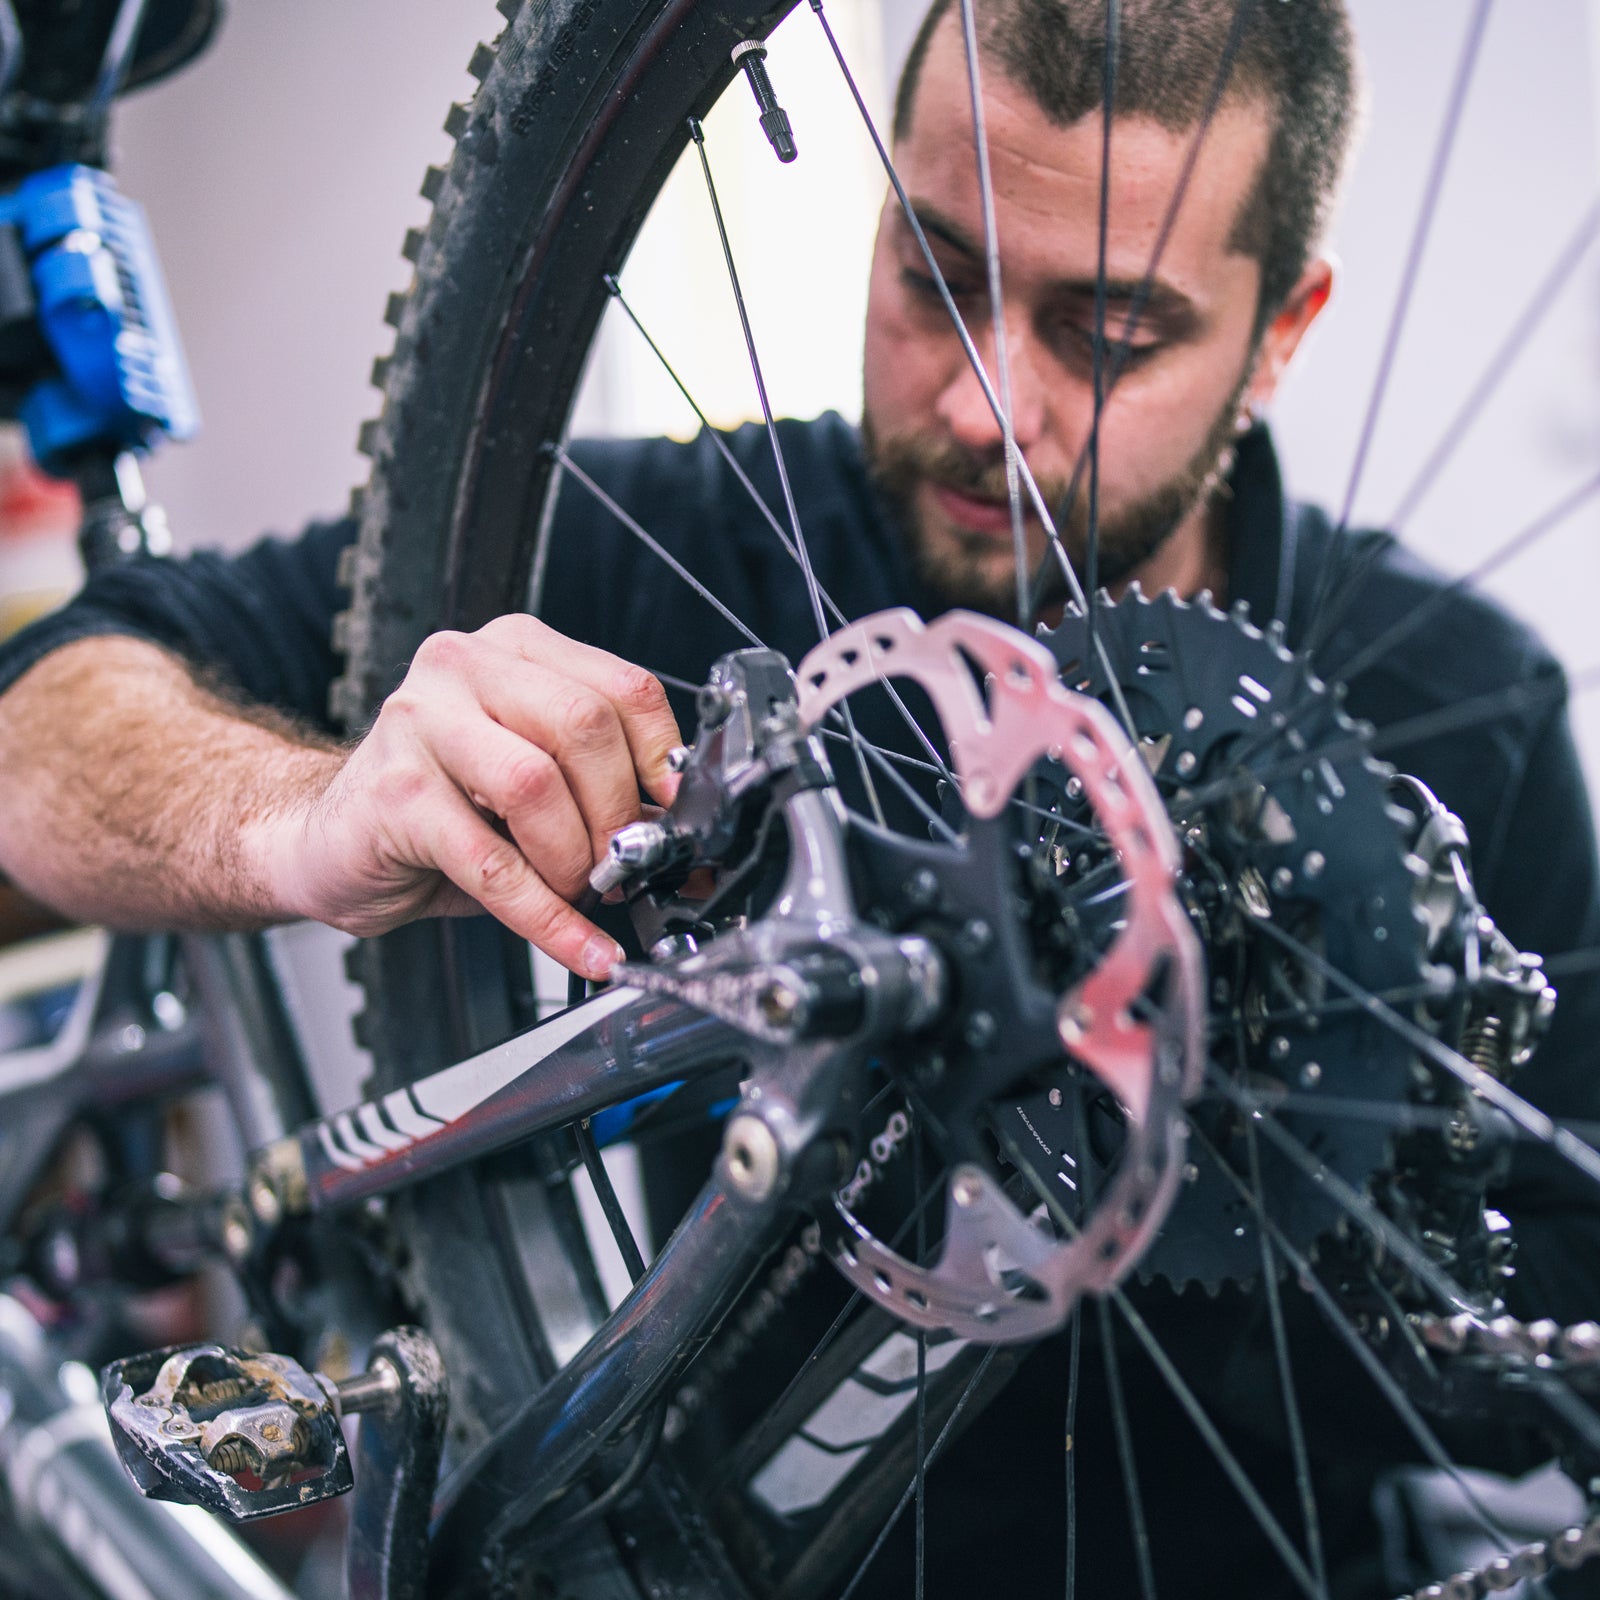
Removing Old Pads
Removing old brake pads is the first step to ensure your bike stops safely. Worn pads reduce braking power and can damage the brake rotor. This process requires care and the right tools. Follow these steps to remove the old pads easily and prepare for new ones.
Loosen Brake Caliper
Start by loosening the brake caliper bolts. These hold the caliper to the bike frame. Use an Allen key or wrench that fits the bolts. Turn the bolts counterclockwise to loosen them. Do not remove the bolts completely. Just loosen enough to move the caliper slightly. This gives space to take out the old pads.
Take Out Old Pads
Look inside the caliper to find the brake pads. They sit on both sides of the rotor. Some pads have a pin or clip holding them in place. Remove this pin or clip carefully. Pull the old pads out gently. Avoid touching the rotor with oily or dirty hands. Old pads might be stuck, so wiggle them softly to free them.
Installing New Pads
Installing new brake pads is a key step in keeping your bike safe. Proper installation ensures smooth braking and longer pad life. Take your time and follow each step carefully.
Align Pads Correctly
Place the new brake pads next to the rim. Make sure they sit flat and straight. The pad should contact the rim evenly. Avoid touching the tire or spokes. Proper alignment stops uneven wear and noise.
Check the pad’s position from both sides. Adjust it so the entire pad touches the rim. The front and back edges should be flush with the rim edge. Small tweaks make a big difference in braking.
Secure Pads In Place
Once aligned, tighten the pad bolts. Use a wrench or Allen key to fasten them firmly. Do not overtighten; this can strip the threads. The pads should stay in place without moving.
After tightening, spin the wheel to test. Make sure the pads do not rub when the brake is off. Squeeze the brake lever to check proper contact. Adjust if needed for smooth and safe braking.
Credit: www.outsideonline.com
Adjusting Brake Tension
Adjusting brake tension is key to making bicycle brakes work well. Proper tension lets the brake pads touch the wheel rim firmly. This stops the bike quickly and safely. Too loose, and the brakes will feel soft. Too tight, and the brakes may rub or lock up.
Brake tension adjustment is simple. It needs only a few steps and some care. This guide breaks down the process. Follow these steps to get your brakes working smoothly again.
Check Brake Lever Feel
Start by squeezing the brake lever. It should feel firm but not hard. The lever must move about halfway before the pads touch the rim. If it moves too far or feels soft, the tension needs adjustment.
Adjust Cable Tension
Look for the barrel adjuster near the brake lever or caliper. Turn it to tighten or loosen the brake cable. Clockwise usually tightens, and counterclockwise loosens. Small turns make big changes, so adjust slowly.
Tighten Or Loosen The Cable Fixing Bolt
If the barrel adjuster is not enough, use a wrench. Loosen the bolt holding the brake cable. Pull the cable tighter to increase tension, or let it out to reduce tension. Tighten the bolt again firmly.
Test Brakes After Adjustment
Squeeze the brake lever again. Check if the pads hit the rim quickly and firmly. Spin the wheel to see if the pads rub. Adjust more if needed until the brakes feel right and the wheel spins freely.
Testing Brake Performance
Testing brake performance is a key step after changing bicycle brake pads. It ensures your brakes work well and keep you safe. This step helps you catch any problems early. You avoid accidents and enjoy smoother rides.
Checking Brake Pad Alignment
Start by looking at how the brake pads touch the rim. They should hit the rim squarely and evenly. Pads that touch the tire or miss the rim can cause damage or poor stopping. Adjust the pads until they line up correctly with the rim surface.
Performing A Stationary Brake Test
Squeeze the brake levers while the bike does not move. The levers should feel firm, not loose or spongy. Check if the brake pads press the rim firmly. A firm lever pull means the brakes are ready to stop the bike.
Conducting A Slow Ride Test
Ride your bike at a slow speed in a safe place. Gently apply the brakes and see how the bike slows down. The bike should stop smoothly and quickly without pulling to one side. Test both front and rear brakes for good balance.
Listening For Unusual Noises
Brake sounds can tell you a lot about pad condition. Listen for squeaks, grinding, or scraping noises. These sounds might mean pads are not aligned or need adjustment. Quiet brakes usually mean proper pad contact and good performance.
Credit: www.parktool.com
Maintenance Tips
Proper maintenance keeps your bicycle brakes working well and safe. Regular checks help spot problems early. Clean parts and timely replacements make brakes last longer.
Cleaning Brake Pads And Rims
Dirt and grime reduce brake power. Wipe brake pads and rims with a clean cloth. Use rubbing alcohol for tough dirt. Avoid oily substances that can cause slipping.
Checking Brake Pad Wear
Look at brake pads for wear marks. Replace pads if they are thin or cracked. Worn pads can damage rims and reduce stopping power.
Adjusting Brake Cable Tension
Brake cables can stretch over time. Tighten cables to keep brakes responsive. Loose cables make brakes feel soft and less effective.
Lubricating Moving Parts
Apply light oil to brake pivots and springs. Avoid oil on brake pads or rims. Smooth parts help brakes work quietly and smoothly.
Inspecting Brake Alignment
Ensure brake pads hit the rim squarely. Misaligned pads reduce braking and cause noise. Adjust pads to touch the rim evenly.
Frequently Asked Questions
How Often Should Bicycle Brake Pads Be Replaced?
Bicycle brake pads should be replaced every 6 to 12 months. Check for wear, cracks, or hardening. Replace sooner if braking performance decreases or pads look worn unevenly.
What Tools Are Needed To Change Brake Pads?
You need an Allen wrench, screwdriver, and possibly pliers. Some bikes may require a specific brake pad removal tool. Always check your bike’s manual for exact tools.
How To Align New Brake Pads Properly?
Align pads so they contact the rim squarely. Avoid touching the tire or hanging off the edge. Adjust the pad position before tightening bolts securely.
Can I Change Brake Pads Without Removing The Wheel?
Yes, you can change brake pads without removing the wheel on many bikes. Loosen the brake arms, slide out old pads, insert new ones, then retighten.
Conclusion
Changing bicycle brake pads keeps your bike safe and working well. Regular checks help spot worn pads early. Use simple tools and follow steps carefully. Take your time to avoid mistakes. Clean parts before installing new pads for best results.
Test brakes after the change to ensure they work right. This small task improves your ride’s safety and comfort. Keep your bike ready for every journey.