Are your bike brakes feeling loose or unresponsive? Knowing how to install bicycle brakes yourself can save you time, money, and keep you safe on every ride.
Imagine the confidence you’ll gain when you can fix or upgrade your brakes anytime, without waiting for a mechanic. In this guide, you’ll get simple, step-by-step instructions that anyone can follow—no fancy tools or expert skills needed. Ready to take control of your bike’s safety and performance?
Let’s get started.
Types Of Bicycle Brakes
Bicycle brakes are essential for safety. Different types suit various bikes and riding styles. Understanding these types helps in choosing and installing the right brakes.
Each brake type works differently. They fit on different parts of the bike. Knowing their features makes installation easier and more effective.
Rim Brakes
Rim brakes press pads against the wheel rim to stop the bike. They are light and simple to install. Common on road bikes and older models. They need clean rims to work well.
Disc Brakes
Disc brakes use a rotor attached near the wheel hub. Pads squeeze the rotor to slow down or stop. They offer strong stopping power in all weather. Found on mountain and many modern bikes.
Coaster Brakes
Coaster brakes work by pedaling backward to brake. No brake levers needed on the handlebars. Popular on children’s bikes and cruisers. Simple but less powerful than other brakes.

Credit: www.youtube.com
Tools And Materials Needed
Installing bicycle brakes requires the right tools and materials. Having these ready helps the process go smoothly. It also ensures your brakes work safely and well. The list below covers everything you need before starting.
Essential Tools
First, gather the basic tools for brake installation. A set of Allen keys is important for most bolts. A screwdriver helps adjust small screws. Needle-nose pliers are useful for handling cables. Cable cutters are needed to trim brake cables cleanly. A wrench or spanner fits nuts on some brake types. A bike stand or a way to hold your bike steady makes work easier.
Brake Components
Next, collect all parts of the brake system. This includes brake calipers or brake arms that press pads on the wheel rim. Brake pads create the friction needed to stop your bike. Brake cables connect the brake lever to the calipers. Housing protects the cables and guides them smoothly. Some systems also need springs and bolts for assembly. Check all parts are compatible with your bike model.
Preparing The Bike
Preparing your bike is the first step to install new brakes. It helps make the process smooth and safe. You must start by removing the old brakes and cleaning the brake mounts. This ensures the new brakes fit well and work properly.
Removing Old Brakes
Use the right tools to remove your old brakes. Start by loosening the brake cable. Then, unscrew the bolts holding the brake arms. Carefully take the brake arms off the bike frame. Keep the bolts and small parts safe for later use or disposal.
Cleaning Brake Mounts
Clean the brake mounts before installing new brakes. Use a cloth to wipe off dirt and dust. For stubborn grime, apply a mild cleaner. Make sure the mounts are dry and free of grease. Clean mounts help new brakes attach firmly and work well.

Credit: www.wikihow.com
Installing Rim Brakes
Installing rim brakes on your bicycle improves stopping power and safety. These brakes work by pressing brake pads against the wheel rim to slow down. The process requires careful mounting, adjusting, and connecting. Follow these steps to install rim brakes correctly and ensure smooth braking performance.
Mounting Brake Arms
Start by aligning the brake arms with the mounting holes on the bike frame. Insert the bolts through the holes and tighten them securely using a wrench. Make sure both brake arms move freely but stay firmly in place. Check that the arms are centered over the wheel rim for even braking.
Adjusting Brake Pads
Position the brake pads so they sit flat against the rim. The pads should contact the rim fully without touching the tire. Loosen the pad bolts to adjust their height and angle. Tighten the bolts once the pads are correctly aligned. Proper pad placement prevents rim damage and improves braking power.
Connecting Brake Cables
Thread the brake cable through the brake arm’s cable holder. Pull the cable tight and secure it by tightening the cable anchor bolt. Test the brake lever to ensure the brakes engage smoothly. Trim any excess cable and cover the end with a cable cap to prevent fraying.
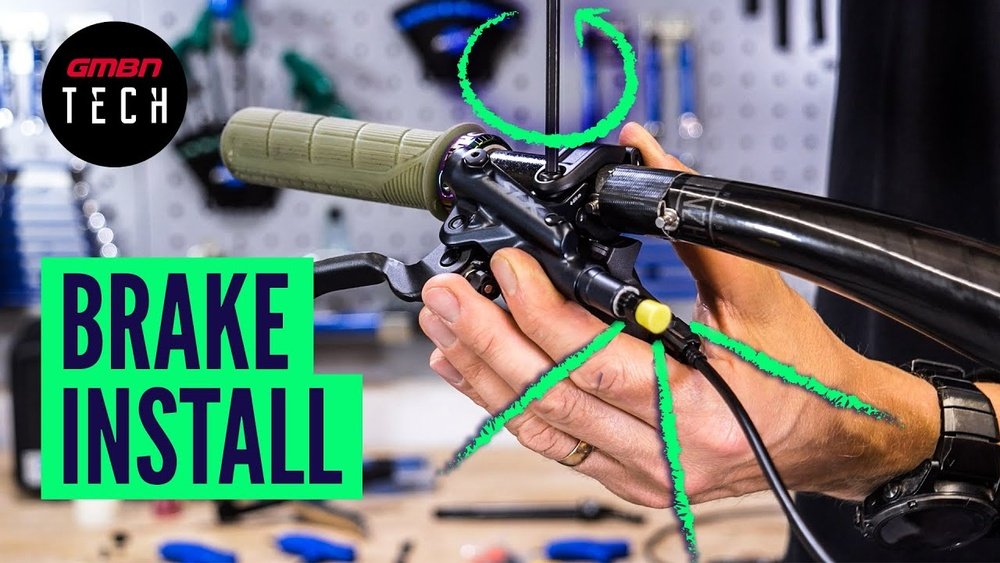
Installing Disc Brakes
Installing disc brakes on a bicycle improves stopping power and control. These brakes use a rotor and caliper system. The process needs care and precision. Each step ensures the brakes work safely and smoothly.
Mounting Calipers
Start by attaching the caliper to the bike frame or fork. Use the correct bolts and tighten them firmly. Align the caliper so it sits centered over the rotor. Spin the wheel to check for any rubbing sounds. Adjust the caliper position until the rotor spins freely without touching the pads.
Installing Rotors
Place the rotor on the wheel hub, matching the holes. Secure it with the correct screws, tightening in a star pattern. This helps spread pressure evenly. Check the rotor for any bends or damage. A true rotor is essential for smooth braking and safety.
Bleeding Hydraulic Brakes
Hydraulic brakes need bleeding to remove air bubbles. Air in the system causes poor brake response. Use the brake bleed kit and follow the brake manufacturer’s instructions. Open the bleed valve and pump fluid until no bubbles appear. Close the valve and test the brake lever for firmness. Repeat if the lever feels soft or spongy.
Adjusting Brake Tension
Adjusting brake tension is a key step in installing bicycle brakes. It controls how well the brakes grip the wheel. Proper tension means safer rides and smoother stops. Too loose, and the brakes won’t stop the bike well. Too tight, and the brakes can rub on the wheel, slowing you down.
Getting the right tension helps you brake with less effort and better control. The process involves setting the cable tightness and fine-tuning the brake arms. Small changes can make a big difference.
Cable Tension Setup
Start by loosening the cable anchor bolt on the brake arm. Pull the brake cable through the anchor until the brake pads sit close to the rim. Tighten the bolt to hold the cable in place. Check that the brake lever moves smoothly and doesn’t pull too far.
Use the barrel adjuster on the brake lever or caliper to make small tension changes. Turning it counterclockwise tightens the cable. Turn clockwise to loosen. Aim for a balance where the brake pads are near the rim but not touching.
Fine-tuning Brake Response
Test the brakes by squeezing the lever gently. The bike should stop quickly without extra lever travel. If the lever pulls too close to the handlebar, increase cable tension. If the brakes rub on the rim, loosen the cable slightly.
Adjust the spring tension on the brake arms if needed. This keeps the brake pads centered and prevents dragging. Use the small screws near the springs for this adjustment. Make small turns, then test the brakes again.
Testing Brake Performance
Testing brake performance is a crucial step after installation. It ensures your bike stops quickly and safely. Poor brake function can cause accidents and injuries. Always check brakes before every ride. This simple test can save lives.
Safety Checks
Start by inspecting brake pads. They should touch the rim evenly. Check if pads wear evenly. Replace if pads are too thin. Look at cables and housing for frays or damage. Make sure bolts and screws are tight. Loose parts can cause brake failure. Adjust the brake lever for proper reach. It should not touch the handlebar when squeezed. Proper setup keeps control in your hands.
Brake Efficiency Test
Test brakes on a flat, safe surface. Ride slowly and squeeze brake levers firmly. The bike must stop quickly without skidding. Listen for unusual sounds like rubbing or squeaking. If brakes feel weak, adjust cable tension. Check if brake pads hit the rim squarely. Repeat the test until brakes respond well. Strong brakes give confidence and control. Never ride without confirming brake efficiency.

Credit: www.santafixie.co.uk
Common Issues And Fixes
Installing bicycle brakes can be tricky. Some common problems may stop your brakes from working well. Fixing these issues can make your ride safer and smoother. Here are some typical brake problems and how to fix them quickly.
Brake Squeaking
Brake squeaking happens when pads rub the rim or rotor wrong. Dirt or dust on the pads or rim causes noise. Clean the brake pads and wheel rim with rubbing alcohol. Check if the pads are worn out. Replace them if they look too thin. Adjust the brake pads so they hit the rim evenly and flat. A small angle can stop the noise.
Uneven Brake Pads
Uneven brake pads touch the wheel rim at different times. This lowers stopping power and wears pads fast. Loosen the brake pad bolts. Align both pads so they contact the rim fully and at the same time. Tighten the bolts while holding pads in place. Spin the wheel to test if pads touch evenly. Adjust if needed for smooth braking.
Cable Slippage
Cable slippage means the brake lever feels loose or weak. The cable may stretch or slip in the clamp. First, check the cable tension. Pull the brake lever and tighten the cable bolt if slack exists. Replace frayed or rusty cables. Use a cable end cap to stop fraying. Test the brake lever again for firm response and safety.
Maintenance Tips
Maintaining your bicycle brakes ensures safety and smooth rides. Regular care keeps brakes responsive and avoids sudden failures. Simple steps help you save money and extend brake life.
Regular Inspection
Check your brakes before every ride. Look for loose cables and worn pads. Test brake levers to confirm they feel firm. Listen for squeaking sounds when braking. These signs show if your brakes need attention.
Replacing Worn Parts
Brake pads wear out with use. Replace them once they are thin or cracked. Old cables can stretch and reduce braking power. Swap cables regularly to keep brakes sharp. Use the right parts for your brake type to ensure safety.
Frequently Asked Questions
How Do I Choose The Right Bicycle Brakes?
Select brakes based on your bike type and riding style. Consider rim brakes for road bikes and disc brakes for off-road or wet conditions. Match brake size and mounting style to your bike frame and wheels for optimal performance and safety.
What Tools Are Needed To Install Bicycle Brakes?
You will need Allen wrenches, a screwdriver, cable cutters, and possibly a torque wrench. These tools help adjust brake calipers, tighten bolts, and cut brake cables to the correct length for a secure fit.
How Do I Align Bicycle Brake Pads Correctly?
Position brake pads so they contact the rim squarely and evenly. Ensure the pads don’t touch the tire or hang below the rim. Proper alignment prevents uneven wear and improves stopping power.
How Often Should I Check My Bicycle Brakes?
Inspect your brakes before every ride for safety. Regularly check brake pad wear, cable tension, and lever feel. Replace worn pads or frayed cables promptly to maintain effective braking.
Conclusion
Installing bicycle brakes is a simple task with the right steps. Follow the instructions carefully and take your time. Check brake alignment and tightness before riding. Test the brakes to ensure they work well and stop smoothly. Regular maintenance keeps your brakes safe and reliable.
Riding with good brakes helps prevent accidents and keeps you confident. Keep practicing these steps to improve your skills. Safe and effective brakes make every ride better.