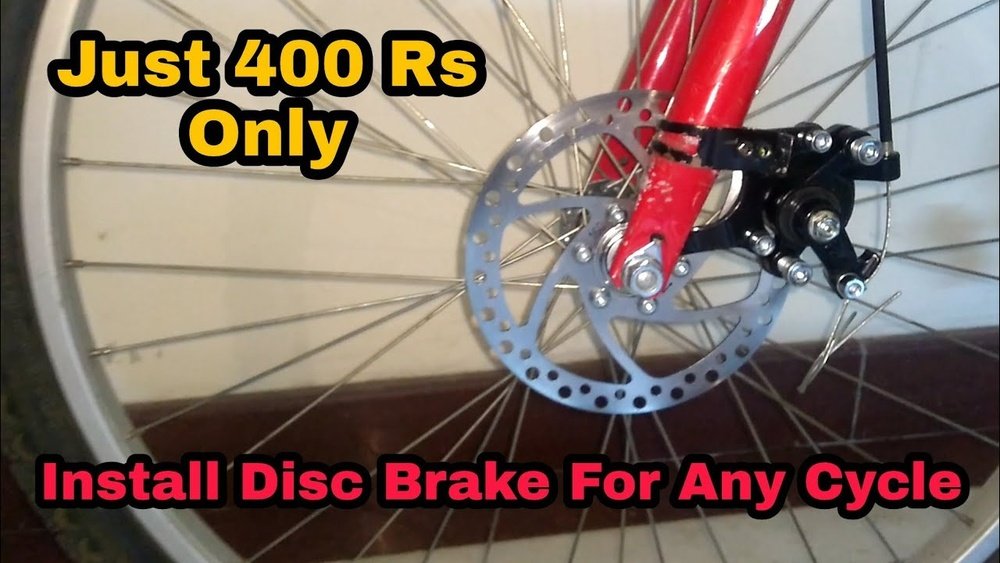
Are you ready to upgrade your bike’s stopping power and ride with more control? Installing disc brakes on your bicycle can make a huge difference in your safety and performance.
But if you’re wondering how to do it yourself, you’re in the right place. This guide will walk you through each step clearly and simply, so you can feel confident making the switch. Keep reading, and soon you’ll enjoy smoother, stronger braking on every ride.
Tools And Materials Needed
Installing disc brakes on a bicycle requires specific tools and materials. Having the right items makes the process easier and safer. This section covers all you need before starting the installation.
Essential Tools
A set of hex wrenches is a must for most bike parts. You will need a torque wrench to tighten bolts correctly. A flathead and Phillips screwdriver will come in handy. A cable cutter is needed if your brakes use cables. Brake fluid and a bleed kit are essential for hydraulic brakes. Lastly, a bike stand can hold your bike steady while you work.
Choosing The Right Disc Brakes
Select disc brakes that fit your bike frame and wheel size. There are two types: mechanical and hydraulic. Mechanical brakes use cables and are easier to install. Hydraulic brakes offer better stopping power but need more care. Check if your bike has mounts for disc brakes. Confirm rotor size matches your wheel size for proper fit.
Additional Supplies
Keep some rubbing alcohol to clean rotors before installation. Use brake cleaner to remove grease and dirt. Have some paper towels ready for cleanup. Threadlocker helps keep bolts from loosening over time. Gloves protect your hands and keep parts clean. Finally, a small container can hold screws and bolts to avoid losing them.

Credit: www.mbr.co.uk
Preparing The Bicycle
Preparing your bicycle is a key step before installing disc brakes. This stage helps make the installation smooth and safe. It also protects your bike’s parts from damage. Follow each step carefully to get the best results.
Removing The Wheels
Start by taking off the wheels. This allows easy access to the brake mounts. Use a quick-release lever or a wrench to loosen the axle. Pull the wheel out gently. Keep the wheels in a safe place to avoid scratches.
Cleaning The Mounting Areas
Next, clean the areas where the disc brakes will attach. Use a clean cloth to wipe dirt and grease. Dirt can stop the brakes from fitting well. Make sure the mounts are dry before you continue. Clean surfaces help the brakes stay secure and work better.
Installing The Disc Brake Calipers
Installing the disc brake calipers is a key step in upgrading your bike’s braking system. Proper installation ensures strong stopping power and safe rides. This process requires careful attention to how the calipers sit on the bike frame.
The calipers hold the brake pads and clamp onto the rotor. If they are not mounted or aligned correctly, the brakes will not work well. Take your time to follow each step with care.
Mounting The Calipers
Start by positioning the caliper on the bike frame or fork. The mounting bolts should fit into the brake mount holes. Use the right size Allen wrench to tighten these bolts just enough to hold the caliper in place.
Do not fully tighten the bolts yet. Leave them slightly loose. This allows you to adjust the caliper later during alignment. Check that the caliper sits evenly over the rotor.
Aligning The Calipers
Spin the wheel slowly and watch the rotor. The caliper should be centered on the rotor without touching it. If the rotor rubs against the pads, the brakes will make noise and wear quickly.
To align, squeeze the brake lever firmly. This pulls the caliper onto the rotor. While holding the brake lever, tighten the mounting bolts fully. Release the lever and spin the wheel again.
Adjust as needed to stop any rubbing. Proper alignment helps the brake work smoothly and keeps the pads from wearing out fast. Double-check the bolts are tight before riding.
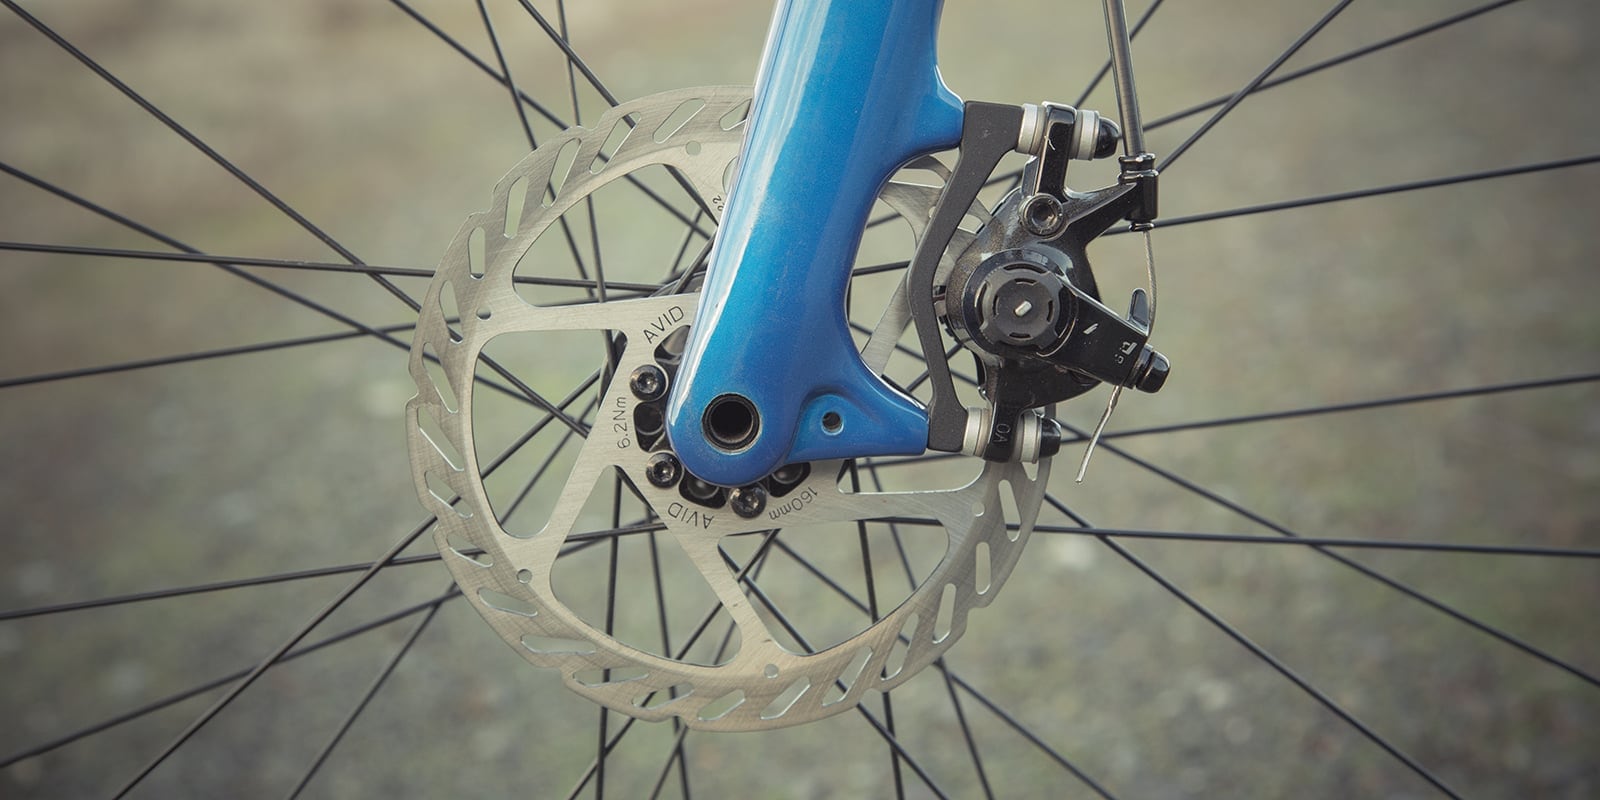
Attaching The Brake Rotors
Attaching the brake rotors is a key step in installing disc brakes on a bicycle. Rotors are the round metal discs that the brake pads clamp onto. They help slow down or stop the bike. Proper rotor attachment ensures smooth braking and safety.
Rotors must be mounted firmly and aligned correctly. Loose or misaligned rotors cause noise and poor brake performance. This section explains how to attach rotors using common methods and secure them properly.
Rotor Installation Methods
Two main methods attach rotors to hubs: six-bolt and centerlock systems. Six-bolt rotors use six small bolts spaced evenly around the rotor. These bolts screw directly into the hub. Use a T25 Torx wrench to tighten them evenly.
Centerlock rotors use a lockring to hold the rotor in place. The rotor slides onto splines on the hub. Then, use a lockring tool to tighten the ring firmly. Centerlock is faster to install and remove.
Securing The Rotors Properly
Clean the rotor and hub contact surfaces before installation. Dirt or grease can cause brake noise and slipping. Tighten bolts or the lockring in a star pattern for even pressure. Avoid overtightening to prevent damage.
After installation, spin the wheel to check rotor alignment. The rotor should not rub against brake pads. Adjust if needed by loosening bolts slightly and repositioning the rotor. Properly secured rotors improve brake feel and safety.
Connecting The Brake Levers
Connecting the brake levers is a key step in installing disc brakes on your bicycle. This process ensures that the brakes respond correctly when you squeeze the levers. Proper connection helps you control the bike safely and smoothly.
Routing The Brake Cables Or Hoses
Start by guiding the brake cables or hydraulic hoses along the frame. Follow the bike’s built-in cable guides to avoid damage. Keep the cables or hoses tight but not too tight. Avoid sharp bends that can block fluid flow or cable movement. Check that the routing does not interfere with the bike’s steering or wheels.
Attaching To The Levers
Next, connect the cables or hoses to the brake levers. For mechanical brakes, insert the cable into the lever’s barrel adjuster. Tighten the bolt to secure the cable firmly. For hydraulic brakes, attach the hose to the lever using the correct fitting. Make sure the connection is tight to prevent leaks. Test the lever pull to confirm smooth brake action and no slack in the cable or hose.

Credit: www.youtube.com
Adjusting Brake Performance
Adjusting brake performance is key after installing disc brakes on your bike. Proper adjustment ensures safe stops and smooth riding. Small tweaks can make a big difference in how your brakes work. This section covers the main steps to get your brakes working perfectly.
Caliper Alignment
Start by centering the brake caliper over the rotor. Loosen the caliper bolts slightly. Squeeze the brake lever to hold the caliper in place. Tighten the bolts while keeping the lever pressed. This step stops the caliper from rubbing the rotor. Check for even spacing on both sides of the rotor.
Brake Pad Spacing
Next, adjust the gap between brake pads and rotor. Use the caliper’s adjustment screws if available. Pads should sit close but not touch the rotor. Too tight causes rubbing, too loose reduces braking power. Spin the wheel to check for any pad contact.
Testing The Brake Response
Test the brake lever feel and stopping power. Pull the lever firmly and notice how the pads grip the rotor. The lever should not pull all the way to the handlebar. Spin the wheel and apply the brake to hear any noise. Adjust again if braking feels weak or noisy.
Bleeding Hydraulic Brakes
Bleeding hydraulic brakes is an important part of maintaining your bike’s disc brakes. It removes air bubbles trapped in the brake fluid. Air in the system can cause the brakes to feel soft or spongy. Clear, firm brake pressure means safer rides and better control.
This process helps keep the brake system working smoothly. It ensures the brakes respond quickly when you need them. Understanding how to bleed your brakes saves time and money on repairs.
When Bleeding Is Needed
Bleed the brakes if the lever feels soft or sinks to the handlebar. If braking power drops suddenly, air may be inside the system. After replacing brake parts or fluid, bleeding is necessary. Any brake fluid leaks also require bleeding to restore pressure.
Step-by-step Bleeding Process
First, prepare all tools: brake fluid, syringe, tubing, and bleed kit. Remove the wheel and position the bike upright. Attach the syringe to the bleed nipple on the caliper. Fill the syringe with fresh brake fluid.
Open the bleed valve slowly. Push fluid through the system while pulling the brake lever gently. Watch for bubbles escaping in the fluid. Keep pushing fluid until no bubbles appear.
Close the bleed valve tightly. Remove the syringe and wipe any spilled fluid. Reinstall the wheel and test the brake lever. Repeat if the lever still feels soft or spongy.
Credit: www.rei.com
Final Safety Checks
Final safety checks are crucial after installing disc brakes on your bicycle. They ensure your brakes work properly and keep you safe on the road. Skipping these checks can cause brake failure or accidents. Take your time to verify every detail before riding.
Tightening Bolts
Check all bolts on the brake caliper and rotor. Use a torque wrench to tighten them to the manufacturer’s specifications. Loose bolts can cause poor brake performance. Tight bolts prevent vibrations and noise while riding.
Inspecting Brake Function
Squeeze the brake levers and watch the brake pads. Make sure the pads touch the rotor evenly. The brake lever should feel firm, not spongy. Test both front and rear brakes separately. Adjust the brake pads or levers if needed.
Test Ride Tips
Start with slow rides in a safe area. Apply brakes gently at first to check stopping power. Listen for unusual sounds or vibrations. Gradually increase your speed and test emergency stops. Recheck bolts and brake response after the test ride.
Frequently Asked Questions
How Do I Prepare My Bike For Disc Brake Installation?
First, remove the old brake system and clean the mounting area. Check if your bike frame supports disc brakes. Gather necessary tools like a torque wrench, Allen keys, and brake fluid. Ensure you have the correct disc brake model for your bike.
What Tools Are Required For Installing Disc Brakes?
You need Allen keys, a torque wrench, a screwdriver, brake fluid, and a bleed kit. A disc brake caliper alignment tool is helpful. Having these tools ensures proper and safe installation of your bicycle disc brakes.
How Do I Align Disc Brake Calipers Correctly?
Loosen the caliper bolts slightly, then squeeze the brake lever firmly. Tighten the bolts while holding the lever. This centers the caliper over the rotor, reducing brake rub and improving performance.
How Often Should Disc Brakes Be Maintained After Installation?
Inspect and clean disc brakes every few rides. Check brake pads for wear and replace them as needed. Bleed hydraulic brakes annually to maintain braking efficiency and safety.
Conclusion
Installing disc brakes on your bicycle improves safety and control. Follow the steps carefully and take your time. Use the right tools and check each part as you go. Test your brakes before riding to ensure they work well. Regular maintenance keeps your brakes in top shape.
Enjoy smoother and safer rides with your new disc brakes.