Are your bicycle brakes not working as well as they used to? If your bike doesn’t stop quickly or feels unsafe, you need to fix your brakes right away.
Knowing how to repair bicycle brakes can save you time, money, and keep you safe on every ride. You will learn simple steps to check and fix your brakes yourself, even if you have no experience. Keep reading, and soon you’ll feel confident and in control every time you hit the road or trail.
Types Of Bicycle Brakes
Bicycle brakes come in different types. Each type works in a unique way to stop the bike. Understanding these types helps with repair and maintenance. This section explains the three main types of bicycle brakes. Knowing them makes brake repair easier and safer.
Rim Brakes
Rim brakes use pads that press on the wheel rim. They are common on many road and mountain bikes. These brakes are simple and light. They need clean rims to work well. Check pads for wear and replace if thin. Adjust the cable tension to improve stopping power.
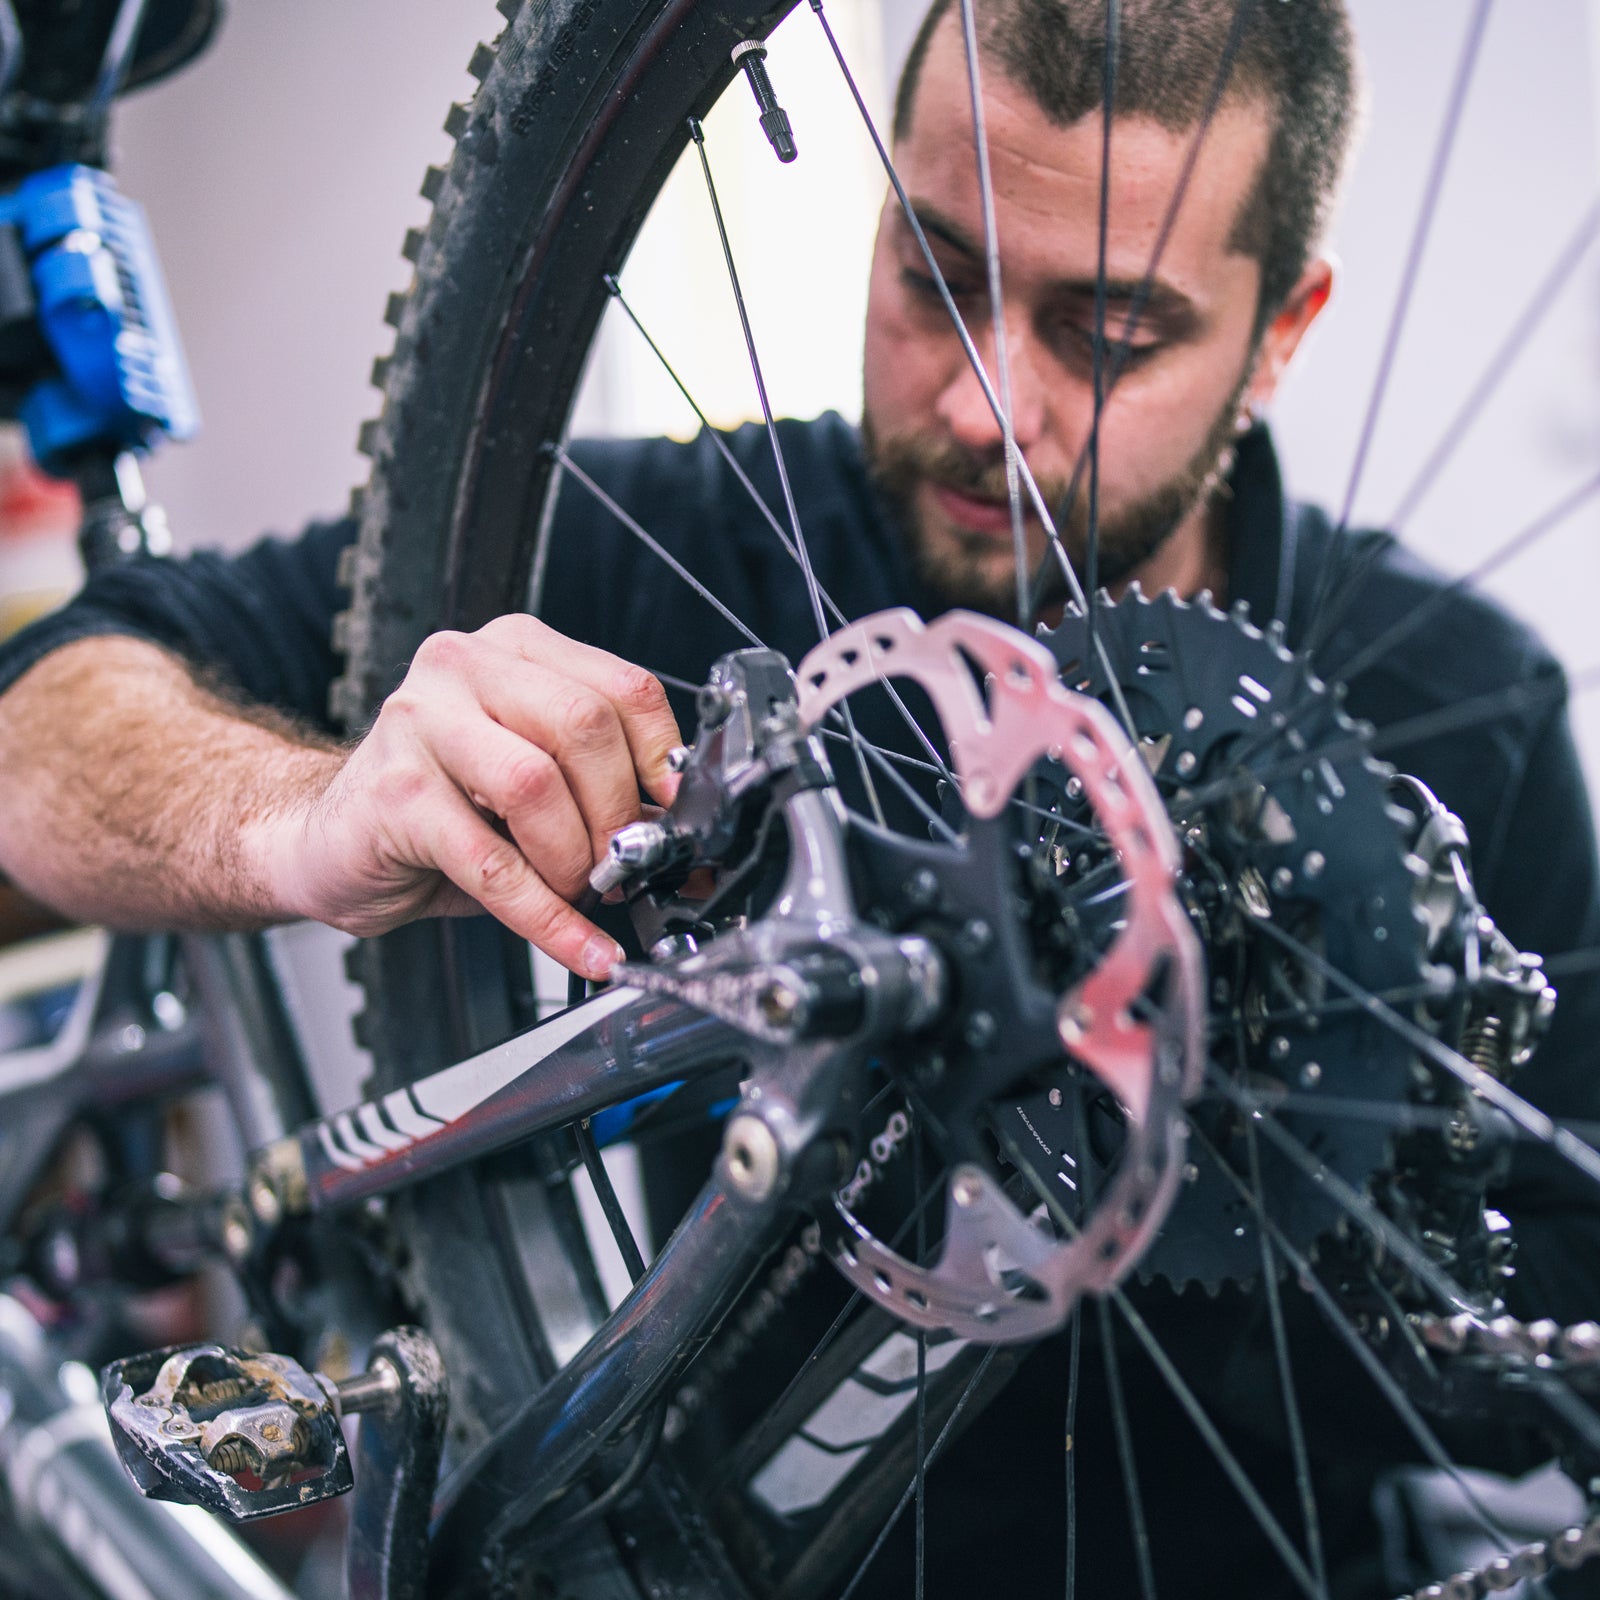
Disc Brakes
Disc brakes use a rotor attached to the wheel hub. Brake pads squeeze the rotor to stop the bike. They work well in wet and muddy conditions. Disc brakes need more care and adjustment than rim brakes. Clean the rotor and pads regularly. Make sure the calipers are centered for even braking.
Drum Brakes
Drum brakes are inside the wheel hub. They use brake shoes that press outward on the drum. These brakes last long and need less adjustment. Drum brakes work well in all weather. They are less common but very reliable. Check the brake cable and shoes for wear. Replace parts when braking feels weak.

Credit: www.wikihow.com
Common Brake Issues
Bicycle brakes are vital for safe riding. Problems with brakes can cause accidents. Knowing common brake issues helps you fix them fast. This section covers usual brake troubles and how to spot them early.
Squeaking Sounds
Squeaking brakes annoy many cyclists. This noise often means dirt or moisture is on the brake pads. It can also mean the pads are worn out. Cleaning the pads or replacing them stops the sound.
Weak Braking Power
Weak brakes make stopping hard and unsafe. This issue may happen if brake cables are loose or stretched. Old brake fluid in hydraulic brakes can reduce power. Tightening cables or replacing fluid improves braking strength.
Brake Lever Problems
Brake levers that feel soft or loose cause poor control. This problem often comes from worn cables or poor adjustment. Sometimes the lever mechanism needs cleaning or lubrication. Fixing these keeps brakes responsive and safe.
Uneven Brake Pad Wear
Uneven wear on brake pads means brakes don’t grip well. This happens if pads do not touch the rim evenly. Misalignment or damaged brake arms often cause this. Adjusting pad position or brake arms restores even wear and smooth braking.
Tools Needed For Brake Repair
Repairing bicycle brakes needs the right tools. Without these tools, the task becomes harder. Some tools are basic and easy to find. Others are specialized for specific brake types. Knowing which tools to use saves time and effort. This section lists the tools needed for brake repair.
Basic Tools
Start with simple tools. A set of Allen wrenches is essential. These fit most bolts on brakes. A flathead screwdriver helps adjust brake pads. Needle-nose pliers pull and hold cables. A clean cloth wipes dirt and grime. A small adjustable wrench tightens nuts. These tools cover most brake repairs on bikes.
Specialized Tools
Special tools fit certain brake systems. A cable cutter cuts brake cables cleanly. A brake pad spreader pushes pads apart. A torque wrench tightens bolts to exact levels. A rotor truing fork straightens bent disc rotors. These tools improve precision and safety. They make brake repair smoother and more reliable.
Adjusting Rim Brakes
Adjusting rim brakes keeps your bike safe and stops it well. Rim brakes work by pressing pads against the wheel rim. This slows the bike down. If brakes are loose or misaligned, stopping becomes harder. Simple adjustments can fix this. Focus on aligning pads, tightening cables, and centering the brake caliper. These steps improve brake performance and safety.
Aligning Brake Pads
Brake pads must touch the rim correctly. They should not hit the tire or hang off the rim. Check the pad surface. It should meet the rim flat and fully. Use a screwdriver or Allen key to loosen the pad bolt. Move the pad until it lines up with the rim edge. Tighten the bolt firmly after adjustment. Proper pad alignment stops wear and improves braking.
Tightening Brake Cables
Loose cables cause weak braking. Find the cable anchor bolt on the brake arm. Loosen it slightly. Pull the cable tight by hand. Hold it firmly and retighten the bolt. Squeeze the brake lever to test tension. Adjust the barrel adjuster on the brake lever for fine tuning. Tight cables make brakes responsive and safe.
Centering The Brake Caliper
The brake caliper should sit in the middle of the rim. If one pad touches the rim first, the caliper is off-center. Loosen the mounting bolt slightly. Hold the brake lever to center the caliper. While holding, tighten the bolt. Release the lever and check pad spacing. The pads should be equal distance from the rim. Centered calipers provide balanced braking force.
Fixing Disc Brakes
Disc brakes offer strong stopping power and work well in all weather. They need regular care to keep working safely. Fixing disc brakes involves checking the brake pads, adjusting the brake system, and sometimes bleeding the hydraulic fluid. Understanding these steps helps maintain smooth and safe rides.
Bleeding Hydraulic Brakes
Hydraulic brakes use fluid to push the brake pads. Air in the system can make the brakes feel soft or weak. Bleeding removes trapped air. Start by attaching a bleed kit to the brake caliper. Pump the brake lever slowly to push air out. Add new brake fluid as needed. Keep the system clean to avoid dirt and damage.
Adjusting Mechanical Disc Brakes
Mechanical disc brakes use a cable to move the brake pads. Over time, cables stretch and need adjustment. Loosen the cable bolt, pull the cable tight, and tighten the bolt again. Check the brake lever for proper tension. The brake pads should sit close to the rotor but not touch it. Test the brakes by squeezing the lever.
Replacing Brake Pads
Worn brake pads reduce stopping power. Remove the wheel to access the brake pads. Use a small tool to push the pistons back inside the caliper. Take out the old pads and insert new ones. Make sure the pads fit well and are clean. Reinstall the wheel and test the brakes before riding.
Replacing Brake Cables And Housing
Replacing brake cables and housing is key to keeping your bike safe. Over time, cables stretch or rust. Housing can crack or get dirty. New cables and housing help brakes work smoothly and stop quickly. This process is simple and saves money.
Removing Old Cables
Start by loosening the brake cable bolt on the brake arm. Next, release the cable from the brake lever. Pull the old cable out through the housing. Check the housing for any cracks or dirt. Remove the old housing if needed. Clean the cable path to prepare for new parts.
Installing New Cables
Cut the new housing to the right length. Use cable cutters for a clean cut. Insert the new housing where the old one was. Push the new cable through the brake lever. Thread the cable through the housing carefully. Attach the cable to the brake arm. Tighten the bolt to hold the cable in place.
Lubricating And Testing
Apply a small drop of bike lubricant inside the housing. This helps the cable move smoothly. Pull the brake lever several times to spread the lubricant. Check for smooth brake movement. Make sure the brakes stop the wheel quickly. Adjust cable tension if the brakes feel loose or tight.
Brake Pad Replacement Tips
Replacing brake pads is a key part of keeping bike brakes strong and safe. Worn-out pads can cause poor stopping power and damage to the wheel rims or discs. Follow these simple tips to change brake pads properly. This will help your bike stop smoothly and last longer.
Choosing The Right Pads
Pick brake pads that match your bike’s brake type. Rim brakes need different pads than disc brakes. Check the pad size and shape carefully. Look for pads made from materials that suit your riding style. Soft pads work well in wet conditions. Hard pads last longer on dry roads.
Removing Old Pads
Loosen the brake caliper or pad holder first. Slide out the old pads carefully. Clean the brake area using a cloth to remove dirt and dust. Inspect the brake parts for wear or damage. This ensures the new pads fit well and work properly.
Installing New Pads
Align the new pads with the wheel rim or disc. Make sure they sit flat and do not touch the tire. Tighten the bolts or clips to secure the pads in place. Test the brake lever to check pad contact and brake response. Adjust the pads if needed for even pressure and smooth braking.
Testing Brake Performance
Testing brake performance is a crucial step after any repair. It ensures your bike stops safely and reliably. Proper testing helps catch issues before riding on busy roads or rough trails. Focus on clear, simple checks that anyone can do.
Safety Checks
Begin by inspecting brake pads for wear or damage. Check that pads hit the rim or disc evenly. Look for loose bolts on brake arms and levers. Confirm cables or hydraulic lines are tight and free of leaks. Make sure brake levers return smoothly after release. These checks prevent accidents caused by brake failure.
Test Ride Procedures
Start riding slowly in a safe, open space. Squeeze the brake levers gently to feel response. Increase pressure to test full stopping power. Listen for unusual noises like grinding or squeaking. Check if the bike stops in a straight line without pulling. Repeat tests for both front and rear brakes. Adjust if brakes feel weak or uneven.
Maintenance To Prevent Brake Issues
Proper maintenance keeps bicycle brakes working well and safe. It stops small problems from turning into big, costly repairs. Regular care also extends the life of your brakes. This section explains easy steps to prevent brake issues.
Regular Cleaning
Dirt and grime reduce brake performance. Clean brake pads, rims, and discs often. Use a soft brush or cloth with mild soap and water. Avoid oil or grease near brake parts. Dry all parts well before riding.
Routine Inspections
Check brakes before every ride. Look for worn brake pads and frayed cables. Test brake levers to ensure they feel firm. Listen for unusual noises during braking. Replace any damaged parts quickly to stay safe.

Credit: www.youtube.com
Credit: www.outsideonline.com
Frequently Asked Questions
How Do I Know When Bicycle Brakes Need Repair?
If brakes feel spongy or unresponsive, they likely need repair. Squealing noises, uneven braking, or visible wear on pads also indicate issues. Regularly check brake performance to ensure safety and timely maintenance.
What Tools Are Needed To Repair Bicycle Brakes?
Common tools include Allen wrenches, screwdrivers, pliers, and a bike stand. You may also need brake cable cutters and lubricant. Having these tools ensures effective and precise brake repairs.
How Can I Fix Squeaky Bicycle Brakes?
Squeaky brakes often result from dirty or worn pads. Clean the rims and pads with rubbing alcohol. If noise persists, lightly sand the brake pads or replace them to restore smooth braking.
How Do I Adjust Bicycle Brake Cables Correctly?
Loosen the cable anchor bolt and pull the cable tight. Then tighten the bolt securely. Adjust the barrel adjuster to fine-tune tension until brakes engage properly without rubbing.
Conclusion
Repairing bicycle brakes keeps you safe on every ride. Regular checks help spot problems early. Tighten cables and replace worn pads when needed. Clean parts to ensure smooth braking action. Test brakes before every trip for best results. Simple steps can prevent bigger issues later.
Taking care of brakes saves money and stress. Stay confident knowing your bike stops well. Keep practicing repairs to get better each time. Safe rides start with well-maintained brakes.