Is your bike’s braking feeling weak or squeaky? Knowing how to replace brake pads on your bicycle can save you time, money, and keep you safe on every ride.
You don’t need to be a mechanic to do it yourself. In this guide, you’ll discover simple, step-by-step instructions that anyone can follow. By the end, you’ll have your brakes working like new—giving you confidence and control every time you hit the road or trail.
Ready to get started? Let’s dive in.
Signs Of Worn Brake Pads
Worn brake pads can make your bike unsafe. They affect how well you stop. Knowing the signs helps you act fast. This keeps your rides safe and smooth. Here are key signs to watch for.
Squeaking Or Grinding Noises
Listen for high-pitched squeaks when braking. This means pads are wearing thin. Grinding sounds are worse. They show metal parts rubbing. Stop riding if you hear these noises.
Reduced Braking Power
Notice if stopping takes longer. You press the brake but slow down less. This means pads may be too thin. Reduced brake power is dangerous. Replace pads to restore control.
Visual Inspection Tips
Look closely at the brake pads. New pads are thick and even. Worn pads look thin or uneven. Check for cracks or pieces missing. If pads are less than 3 mm thick, change them.
Credit: www.outsideonline.com
Tools And Materials Needed
Replacing brake pads on your bicycle requires the right tools and materials. Having these ready makes the process smooth and safe. It also saves time and frustration. This section lists the essential tools and helps you choose the correct brake pads for your bike.
Essential Tools
Start with a set of Allen wrenches or hex keys. These fit most bolts on the brake system. You will need a screwdriver, usually a Phillips head. A bike stand or a way to hold your bike steady helps a lot. Use needle-nose pliers to remove old brake pads easily. A clean rag and some rubbing alcohol help clean brake parts. Lastly, keep a small adjustable wrench for any nuts or bolts.
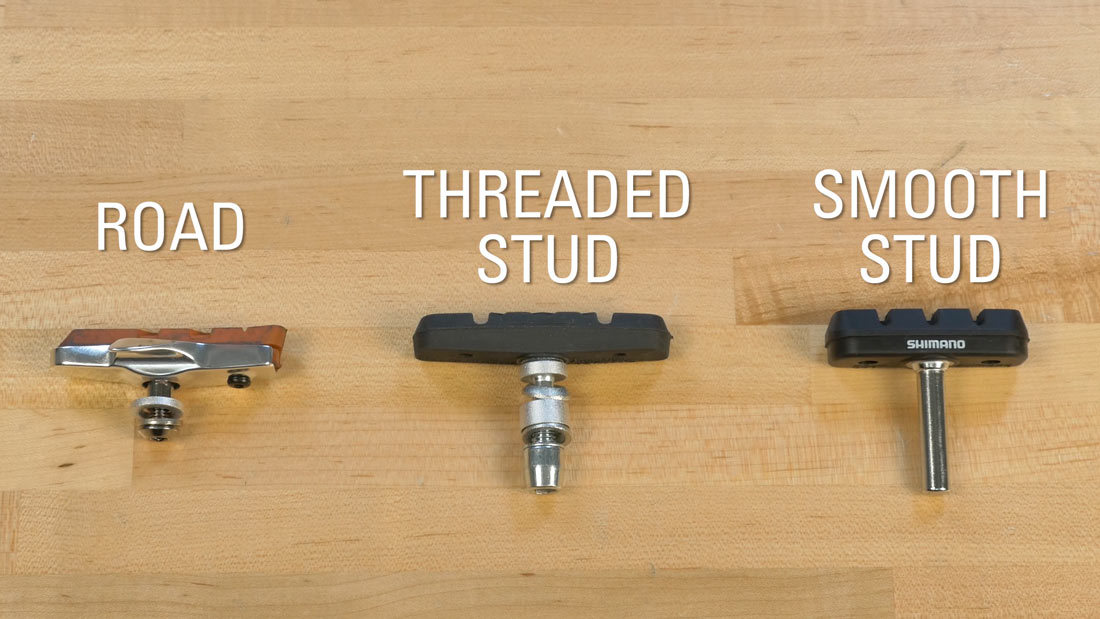
Choosing The Right Brake Pads
Select brake pads that fit your bike’s brake type. Rim brakes need pads that press against the wheel rim. Disc brakes require pads designed for the rotor. Check the bike manual or brake model for compatibility. Look for pads made from durable materials like rubber or composite. Softer pads offer better stopping but wear faster. Harder pads last longer but may reduce grip. Choose pads that match your riding style and conditions.
Preparing Your Bicycle
Preparing your bicycle is the first step to replace brake pads. It helps you work safely and easily. A steady bike prevents accidents. Removing the wheel gives clear access to brake pads. This makes the process smooth and quick.
Securing The Bike
Find a flat surface to place your bike. Use a bike stand if available. If not, flip your bike upside down. Rest it on the seat and handlebars gently. Check that it stands steady. This stops the bike from moving while you work.
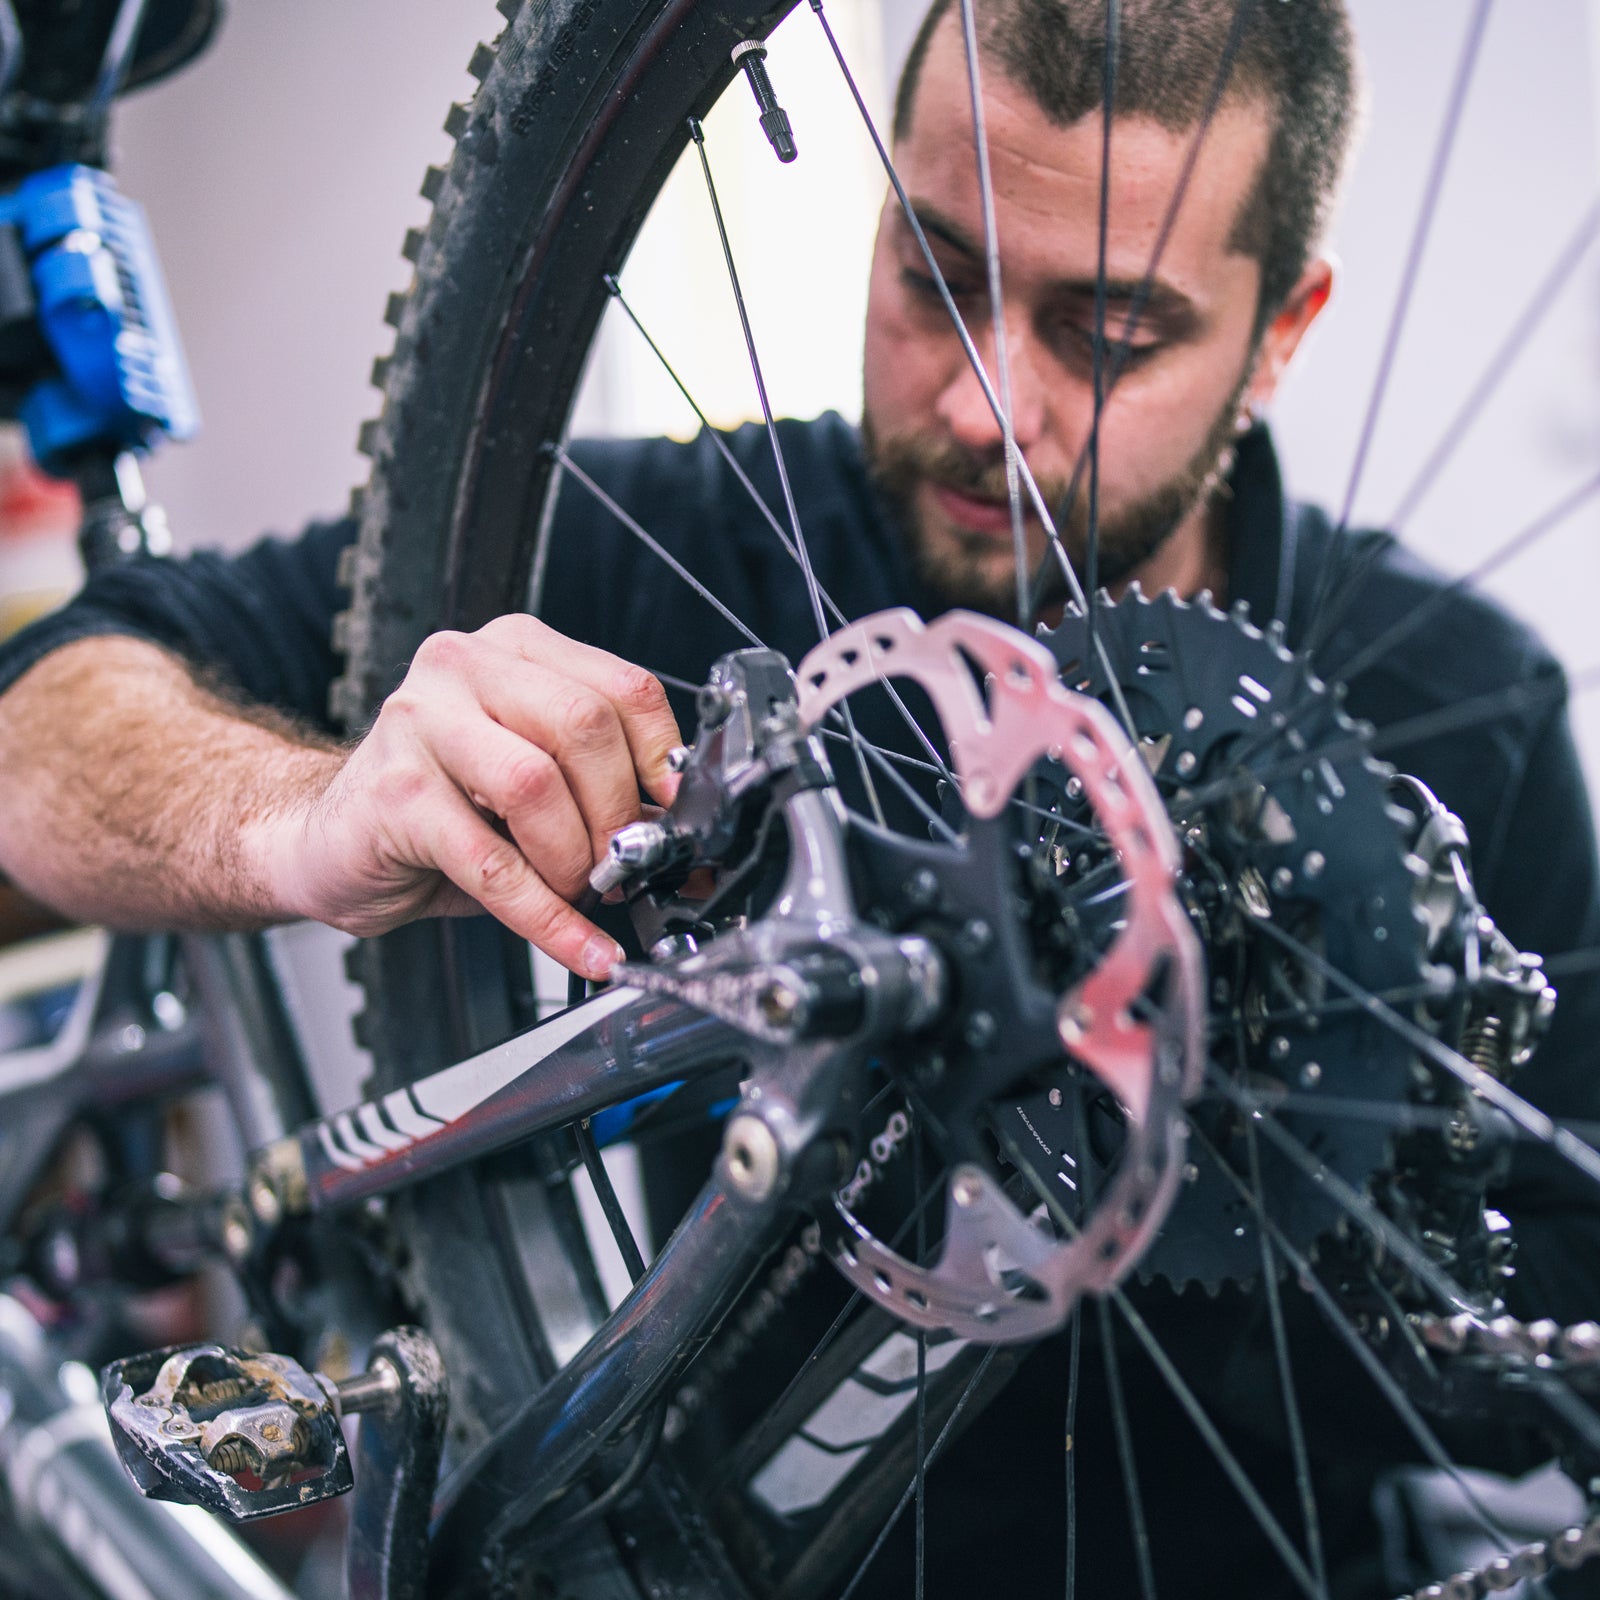
Removing The Wheel
Release the brake cable to free the wheel. Open the quick-release lever or loosen axle nuts. Pull the wheel out carefully from the frame. Keep the wheel nearby to avoid losing it. This step clears the way to change brake pads easily.
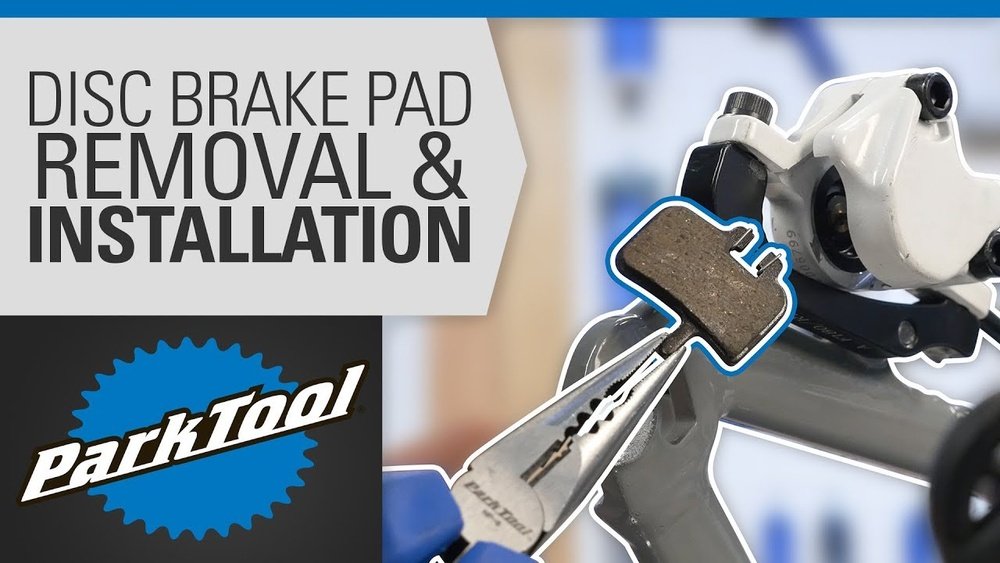
Removing Old Brake Pads
Removing old brake pads is the first step in replacing them. It ensures your brakes work well and keep you safe. You need to handle the brake parts carefully to avoid damage. Follow these simple steps to remove the worn-out pads smoothly.
Start by loosening the brake components. This makes it easier to take out the old pads. Then, detach the pads from the brake system. Take your time and check each part closely.
Loosening Brake Components
Find the bolts or screws holding the brake pads. Use the correct tool, usually an Allen wrench or screwdriver. Turn the tool slowly to loosen the parts. Do not remove the bolts completely yet. Just loosen them enough to move the brake arms. This step frees the brake pads and helps you remove them easily.
Detaching The Pads
After loosening the parts, pull the brake pads out carefully. Some pads slide out, while others may have pins or clips. Check for any small parts that hold the pads in place. Remove these parts if needed. Keep the old pads for comparison with new ones. Dispose of them properly if they are too worn. Now, the brake area is ready for new pads.
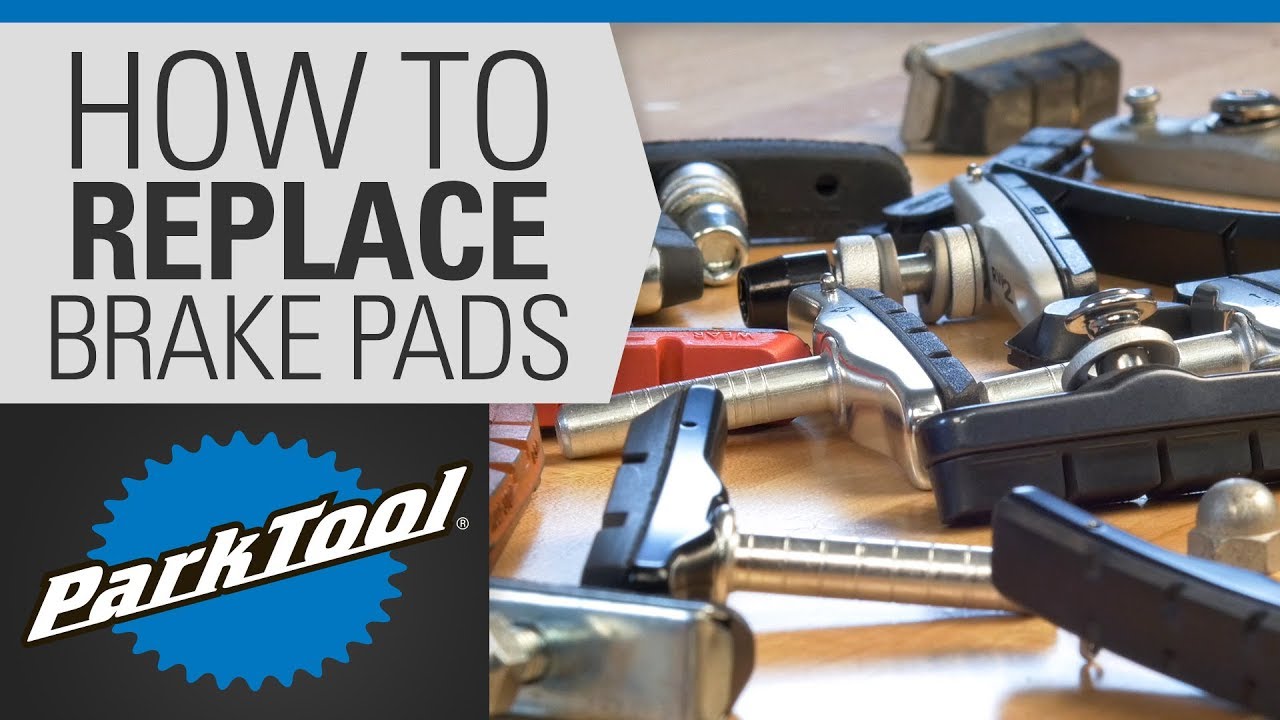
Installing New Brake Pads
Installing new brake pads on your bicycle is a key step for safe riding. This process ensures your brakes work well and stop your bike smoothly. Take your time to fit the pads correctly. Proper installation helps avoid brake noise and uneven wear.
Aligning The Pads
Start by placing the new brake pads near the wheel rim. Make sure they line up evenly with the rim’s surface. The pads should touch the rim fully when brakes are applied. Avoid letting pads hit the tire or hang below the rim. Adjust the angle so pads sit flat and straight. Check both sides for equal contact with the rim.
Securing The Pads In Place
Once aligned, tighten the bolts that hold the brake pads. Use the right size wrench to avoid slipping. Tighten bolts firmly but do not over-tighten. Over-tightening can damage the pad or brake arm. After securing, squeeze the brake lever to test pad movement. Pads should move smoothly and return to position quickly. Make final adjustments if pads shift or rub when released.
Adjusting Brake Tension
Adjusting brake tension is important for safe and smooth bicycle braking. Proper tension ensures the brake pads touch the wheel rim just right. Too loose and the brakes feel weak. Too tight and the brakes drag or stick. You can fix this by checking pad clearance and fine-tuning the brake levers.
Checking Pad Clearance
Start by looking at the gap between the brake pads and the rim. The pads should be close but not touching the rim when the brakes are not used. Use your fingers to squeeze the brake levers gently. The pads should touch the rim firmly and stop the wheel.
If the pads hit the rim too early, loosen the cable tension. Turn the barrel adjuster on the brake lever or caliper to increase the gap. If the pads stay too far from the rim, tighten the cable by turning the barrel adjuster the other way. Adjust until the brake pads move just right.
Fine-tuning Brake Levers
Brake levers need to feel comfortable and responsive. Squeeze the lever to check how far it moves before the brake pads touch the rim. The lever should not pull all the way to the handlebar. If it does, the cable is too loose or the pads are worn.
Use the barrel adjuster near the lever to make small changes. Turn it to tighten or loosen the brake cable. Test the lever after each turn. Stop when the lever feels firm and stops the wheel quickly. This fine-tuning helps you brake safely and smoothly.
Testing The Brakes
Testing the brakes after replacing your bicycle brake pads is crucial. It ensures your safety and helps confirm the pads work correctly. Proper testing avoids accidents and gives you confidence riding your bike again.
Performing Safety Checks
Start by checking the brake lever feel. It should be firm, not spongy. Squeeze the lever and watch if the brake pads touch the rim evenly. Make sure the pads do not rub the tire or miss the rim.
Look for any loose bolts or parts around the brakes. Tighten anything that moves. Check the brake cables for frays or damage. Replace cables if needed for better performance.
Test Ride Tips
Begin with a slow ride in a safe, open space. Apply the brakes gently to feel their response. Increase braking force gradually to test stopping power. Listen for unusual noises like squeaking or grinding.
Try braking while turning to check control. Notice if the bike stops smoothly without pulling to one side. If brakes feel weak or uneven, adjust the pads or cable tension again.
Credit: www.parktool.com
Maintenance Tips For Brake Pads
Brake pads keep your bike safe by stopping it quickly. Taking care of them helps your brakes work well and last longer. Small steps can prevent big problems and keep rides smooth.
Here are simple tips to maintain your brake pads and keep your bike safe.
Regular Inspection
Check brake pads often for wear and damage. Look for cracks or uneven wear on the pad surface. Thin pads should be replaced before they wear out completely. Test the brakes to see if they stop the bike quickly. Listen for squeaking sounds, which may mean pads need attention.
Cleaning And Care
Keep brake pads clean from dirt and oil. Use a soft brush or cloth to remove grime gently. Avoid touching the pad surface with greasy hands. Clean the rims or discs too, as dirt affects braking. Dry the brake parts after washing your bike to stop rust.
Credit: www.youtube.com
Frequently Asked Questions
How Often Should I Replace Bicycle Brake Pads?
Replace brake pads when they are worn down to 1-2 mm thickness. Check them every few months. Worn pads reduce braking efficiency and safety.
What Tools Do I Need To Replace Brake Pads?
You need an Allen wrench, screwdriver, and sometimes pliers. These help remove old pads and install new ones properly and securely.
How Do I Know If My Brake Pads Need Replacement?
Look for grooves, cracks, or thin pads less than 2 mm. Also, notice if braking feels weak or noisy, signaling pad wear.
Can I Replace Brake Pads Without Professional Help?
Yes, with basic tools and guidance, replacing pads is easy. Follow step-by-step instructions to ensure correct installation and safe braking.
Conclusion
Replacing brake pads on your bicycle keeps you safe and improves riding. Regular checks help spot worn pads early. Always use the right tools for the job. Follow each step carefully to avoid mistakes. After replacement, test your brakes before riding fast.
This simple task saves money and time. Your bike will stop better and feel smoother. Stay confident and enjoy every ride with fresh brake pads.