You rely on your bicycle every day, and your disc brakes are what keep you safe on every ride. But how do you know when it’s time to replace your brake pads?
Ignoring worn-out pads can lead to poor stopping power and even damage your bike. You’ll learn the clear signs that tell you it’s time for new pads. Keep reading to protect your safety and get the best performance from your bike.
Signs Of Worn Brake Pads
Worn brake pads on a bicycle can cause safety risks. Knowing the signs helps keep your bike safe. Pay attention to changes in braking performance and sounds. Check your brake pads often to avoid bigger problems.
Reduced Braking Power
Your bike takes longer to stop. You have to press the brake lever harder. This means the brake pads are wearing thin. Reduced braking power signals it is time to replace the pads.
Unusual Noises
Squeaking or grinding sounds come from the brakes. These noises happen when pads wear down too much. Metal parts may rub against the rotor. Strange sounds warn you to inspect the brake pads.
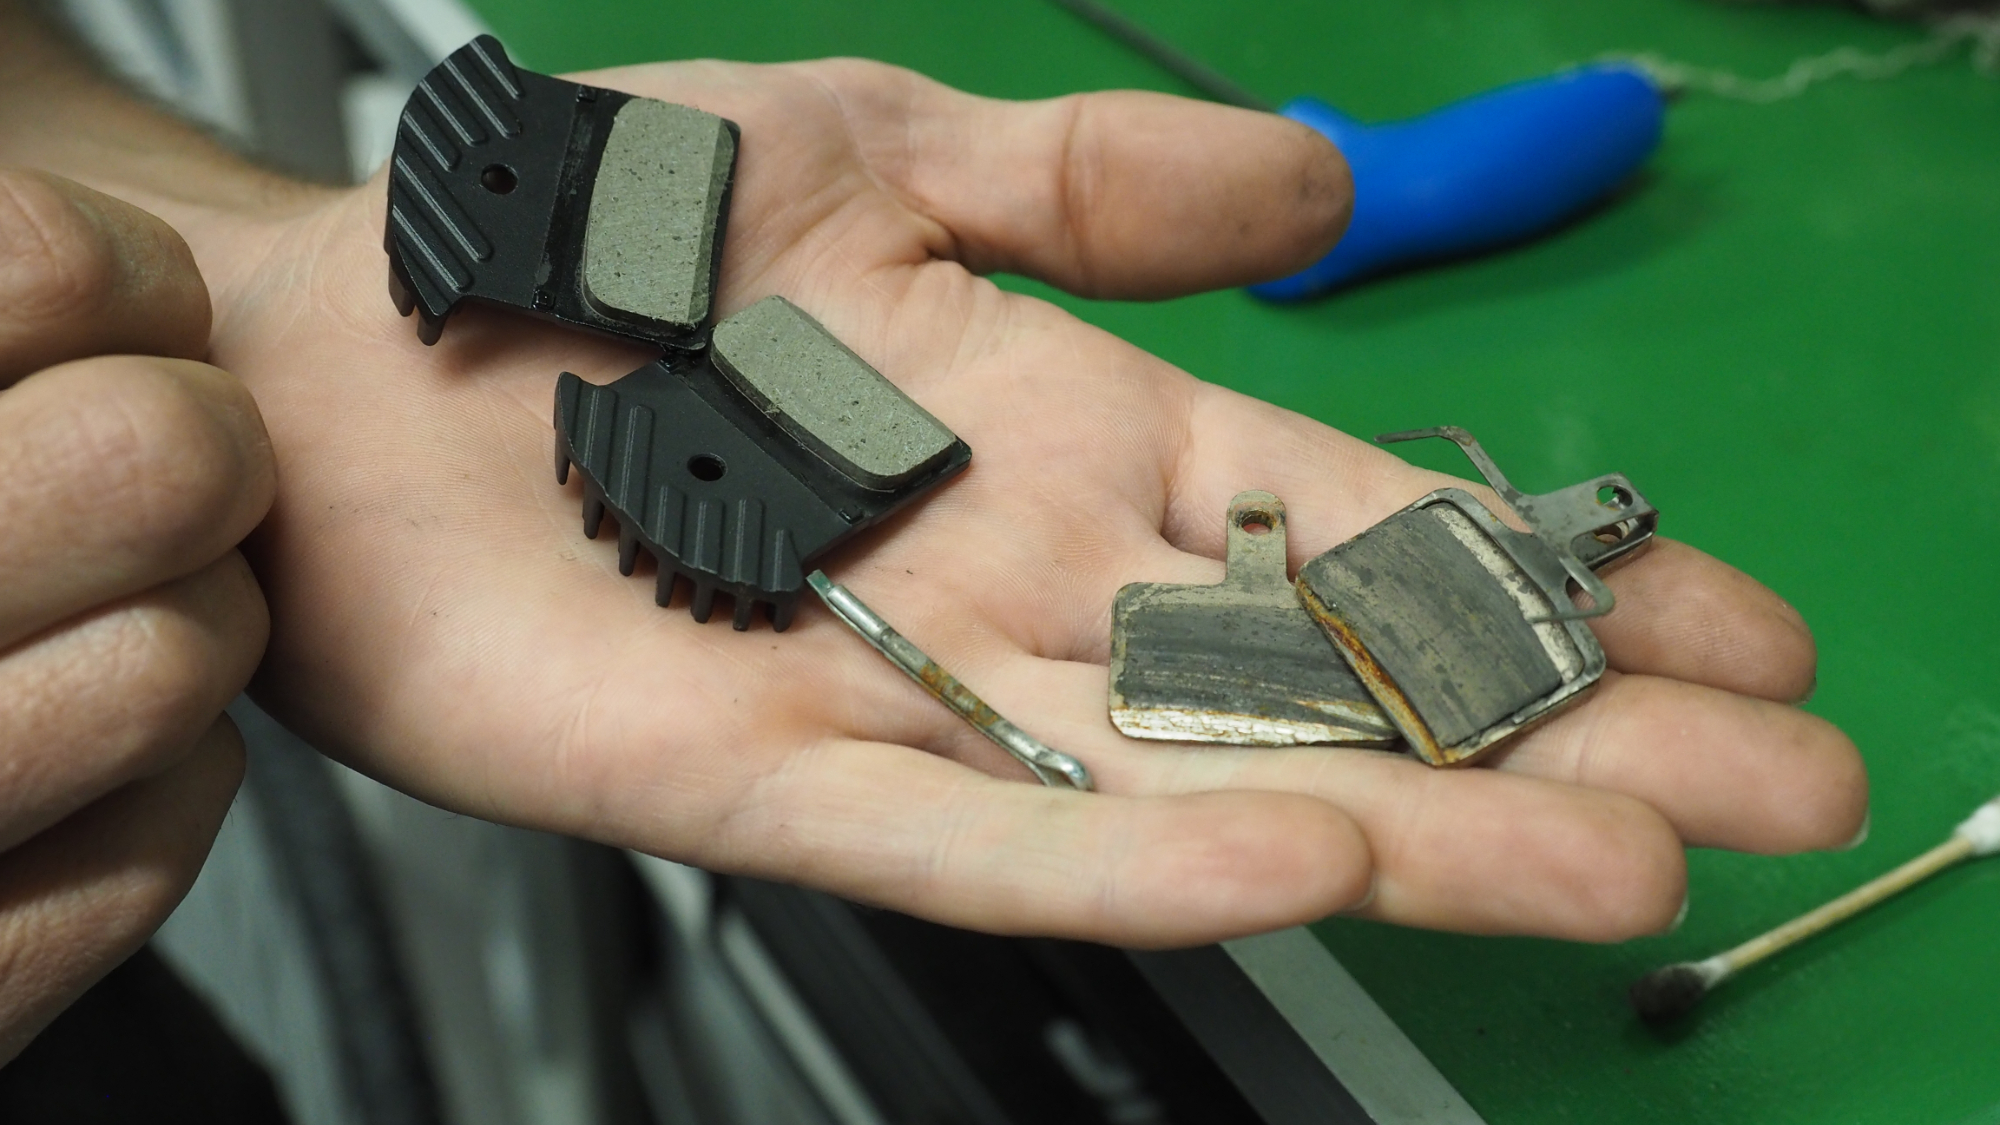
Visible Pad Thickness
Look at the brake pads closely. Healthy pads are thick and firm. Worn pads look thin or almost gone. If the pad material is less than 3 millimeters, change them soon.
Vibration During Braking
Your bike shakes or vibrates when braking. This can happen if pads wear unevenly. Vibration means the brakes are not working smoothly. Check the pads and replace if needed to stop the shaking.
Credit: www.bikeperfect.com
Types Of Disc Brake Pads
Bicycle disc brake pads come in different types. Each type has unique features and suits various riding styles. Knowing the types helps you choose the right pad for your bike. This choice affects braking power, noise, and pad life. Understanding these pads guides you on when to replace them.
Organic Pads
Organic pads are made from soft materials like rubber and resin. They offer quiet braking and good initial bite. These pads wear faster than others but provide smooth stops. They work well in dry conditions and for casual riders. Organic pads are gentle on rotors, reducing wear over time.
Sintered Pads
Sintered pads are made by fusing metal particles under heat. They last longer and handle heat better than organic pads. These pads give strong braking power in wet and muddy conditions. They create more noise and can wear rotors faster. Sintered pads suit aggressive riders and mountain biking.
Semi-metallic Pads
Semi-metallic pads blend organic and metal materials. They balance braking power and durability. These pads offer good performance in various weather conditions. They wear slower than organic pads but quieter than sintered types. Semi-metallic pads fit riders who want a mix of comfort and strength.
Factors Affecting Pad Lifespan
Understanding the factors that affect bicycle disc brake pad lifespan helps you know when to replace them. Different elements change how fast the pads wear out. Paying attention to these can save you from sudden brake failure and keep your ride safe.
Riding Conditions
Wet or muddy trails wear brake pads faster. Dust and dirt cause more friction on the pads. Riding on steep hills also increases pad wear. Smooth, dry roads help pads last longer. Check pads often if you ride in tough conditions.
Brake Usage Frequency
The more you brake, the faster pads wear out. Frequent braking in city traffic reduces pad life. Long downhill rides cause heavy brake use too. Riding mostly on flat roads means less brake use. Track how often you use brakes to judge pad health.
Pad Material
Sintered pads last longer but can be noisy. Organic pads offer quiet braking but wear fast. Semi-metallic pads balance durability and noise. Choosing the right pad material affects how often you replace them. Match pad type to your riding style for best results.
Brake System Maintenance
Regular cleaning prevents dirt build-up on pads. Checking for proper alignment stops uneven wear. Replacing worn rotors helps pads last longer. Neglecting maintenance leads to faster pad damage. Keep your brake system clean and adjusted for longer pad life.
How To Inspect Brake Pads
Checking your bicycle’s disc brake pads is important for safe riding. Worn pads reduce stopping power and can damage the rotor. Regular inspection helps catch problems early. Follow simple steps to check your brake pads carefully.
Removing The Wheel
Start by removing the wheel to see the brake pads clearly. Use a quick-release lever or a wrench to take off the wheel. Place the bike on a stand or upside down for stability. This step makes it easier to access the brake caliper and pads.
Measuring Pad Thickness
Look at the brake pads inside the caliper. New pads are usually around 3 to 4 millimeters thick. Measure the remaining pad material with a ruler or caliper tool. Replace pads if thickness is less than 1.5 millimeters for safety.
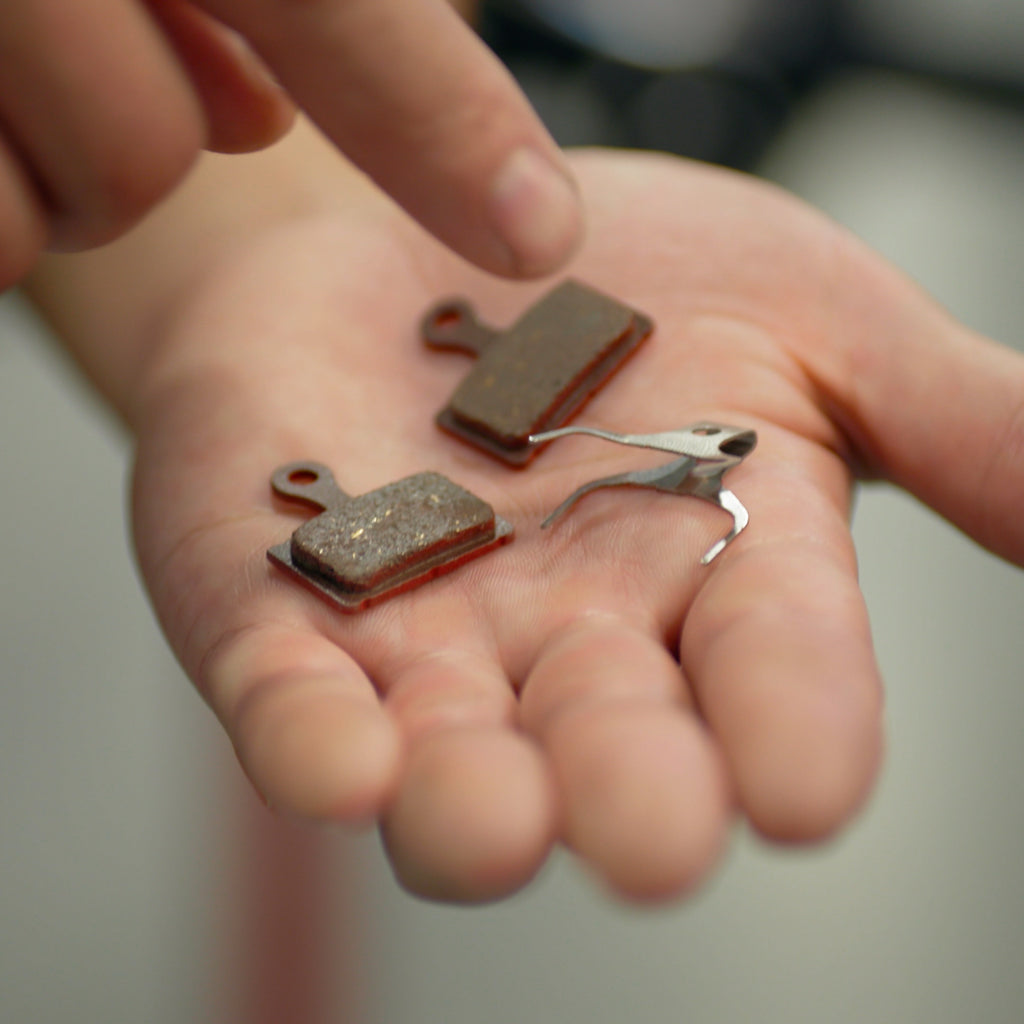
Checking For Contamination
Brake pads can get dirty with oil or grease, which reduces braking power. Inspect the pad surface for any shiny or oily spots. Contaminated pads often feel slippery or look glazed. Replace the pads if you find signs of contamination to keep brakes working well.
Replacing Brake Pads Step-by-step
Replacing bicycle disc brake pads is an important task. It keeps your bike safe and stopping well. The process is simple when you know the steps. This guide breaks down the replacement into clear parts. Follow each step carefully for the best results.
Gathering Tools
First, collect all the tools you need. You will need a set of Allen keys or hex wrenches. A flat screwdriver helps to remove the old pads. Get new brake pads made for your bike model. Also, have some rubbing alcohol and a clean cloth. Gloves protect your hands from dirt and brake dust.
Removing Old Pads
Start by removing the wheel for better access. Locate the brake caliper and open it using an Allen key. Push the pistons back gently to make space. Use the screwdriver to remove the old pads carefully. Avoid touching the brake rotor with your fingers. Check the caliper for dirt and clean it if needed.
Installing New Pads
Place the new pads in the caliper slot. Make sure they fit snugly and align with the rotor. Secure them with the pin or bolt that held the old pads. Close the brake caliper and tighten the screws. Put the wheel back on and spin it to check clearance. The pads should not rub against the rotor.
Bed-in Process
The bed-in process helps the pads and rotor work well together. Ride slowly and apply the brakes gently at first. Increase pressure gradually over a few stops. This helps the pads to form a smooth surface. Avoid hard braking during the first few miles. Proper bedding improves braking power and pad life.
Credit: www.youtube.com
Consequences Of Delayed Replacement
Delaying the replacement of bicycle disc brake pads can cause serious problems. The pads wear down and stop working well. This can harm other parts of the bike. It also makes riding unsafe. Ignoring the signs of worn pads leads to higher costs later. Understanding these risks helps you keep your bike in top shape.
Damage To Rotors
Worn brake pads can scratch and damage the rotors. Rotors are metal discs that the pads press against to stop the bike. If pads are too thin, metal hits metal. This wears out rotors quickly. Damaged rotors may need full replacement, which costs more.
Reduced Safety
Thin or worn pads reduce braking power. The bike takes longer to stop. This is dangerous on busy streets or downhill rides. Poor brakes increase the chance of accidents. Good brake pads help you stop fast and safe.
Increased Repair Costs
Delaying pad replacement leads to bigger repairs. Damaged rotors and other parts add to the cost. Fixing brakes early saves money. Regular checks and timely replacement avoid costly repairs.
Tips For Extending Pad Life
Extending the life of your bicycle disc brake pads saves money and improves safety. Simple habits help pads last longer. These tips keep your brakes working well and reduce wear.
Follow these steps to care for your brake pads and enjoy smoother rides for more miles.
Brake Technique
Use gentle pressure on brake levers. Avoid sudden, hard stops that wear pads fast. Try to brake early and smoothly. This spreads the pad wear evenly. It also keeps the brakes cooler and stronger.
Regular Cleaning
Clean brake pads and rotors often. Dirt and dust cause pads to wear quickly. Use a soft brush or cloth to remove grime. Check pads for small stones or debris. Keeping parts clean helps brakes work better and last longer.
Avoiding Overheating
Long downhill rides can heat brakes too much. Overheated pads lose their grip and wear out fast. Use short, light braking bursts instead of constant pressure. Let brakes cool during long rides. This prevents damage and keeps pads effective.
Credit: www.theproscloset.com
Frequently Asked Questions
How Do I Know When To Replace Brake Pads?
Replace brake pads if stopping power decreases or pads are under 1mm thick. Look for squealing sounds or visible wear on the pad surface.
Can Worn Brake Pads Damage My Bike Rotors?
Yes, worn pads can cause metal-on-metal contact, damaging rotors. This leads to costly repairs and reduced braking efficiency.
How Often Should I Inspect My Disc Brake Pads?
Inspect brake pads every 500 to 1000 miles or monthly if you ride frequently. Regular checks prevent unexpected brake failure and ensure safety.
What Are Signs Of Failing Bicycle Disc Brake Pads?
Signs include reduced braking power, squeaking noises, vibration when braking, or visible pad thinning. Immediate replacement is crucial to maintain safe riding.
Conclusion
Bicycle disc brake pads wear down with use. Watch for squeaking sounds or poor braking power. Thin or uneven pads need quick replacement. Regular checks keep your bike safe and smooth. Don’t wait for brakes to fail completely. Changing pads on time saves money and effort.
Stay alert and maintain your brakes well. Ride safely with fresh, strong brake pads.