
Riding a bicycle is one of the most enjoyable, affordable, and eco-friendly ways to travel. Whether you’re commuting to work, exercising, or exploring scenic roads, a bicycle offers freedom that few other forms of transportation can match. However, that freedom depends on one critical safety feature—working brakes.BImagine riding downhill when you squeeze the brake lever and nothing happens. Your heart races, your speed increases, and panic begins to set in. While brake failure is uncommon when a bicycle is properly maintained, it can happen because of worn brake pads, broken cables, hydraulic issues, or poor maintenance.
Knowing how to react in this situation can make a huge difference. The key is to remain calm, think clearly, and use safe techniques to reduce your speed until you can stop completely.
Important: The tips below are emergency techniques only. They are not a replacement for properly functioning brakes. If your brakes are damaged or not working, repair them before riding again.
Let’s explore 10 simple tips to stop a bicycle without brakes safely.
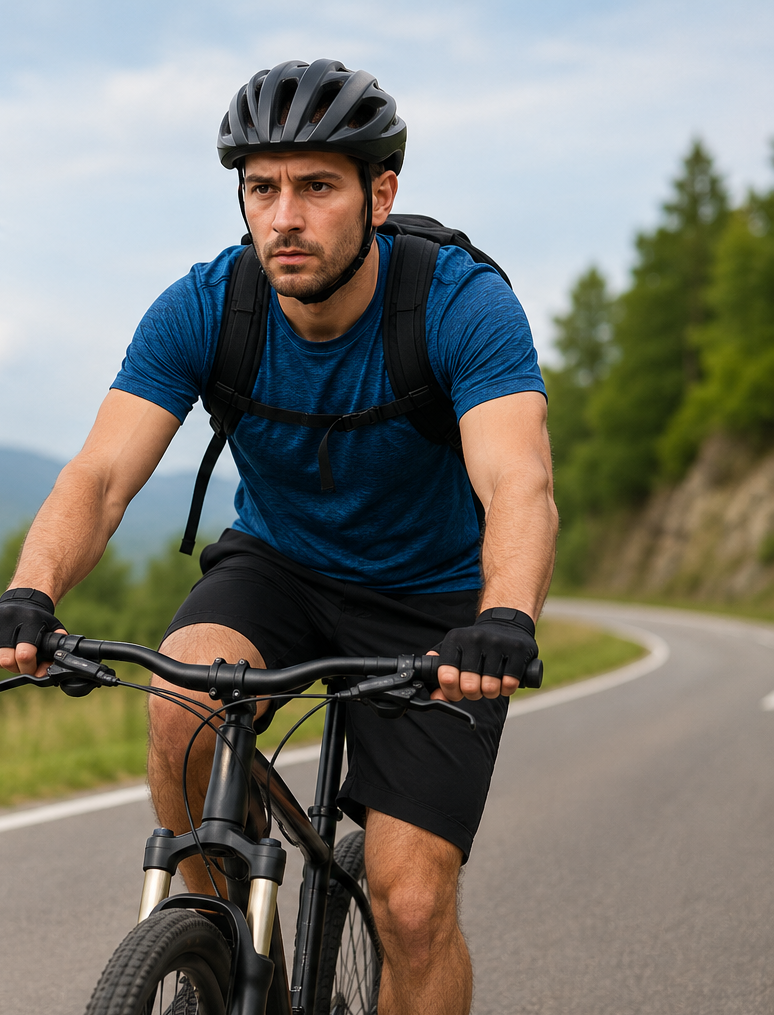
1. Stay Calm and Don’t Panic
The first and most important thing you should do is stay calm.
When riders panic, they often make dangerous decisions such as jumping off the bike at high speed or making sudden turns that can lead to serious crashes.
Instead:
- Keep both hands on the handlebars.
- Look ahead instead of down.
- Breathe steadily.
- Focus on slowing the bike rather than stopping instantly.
Remember, keeping control is far safer than making a desperate move.
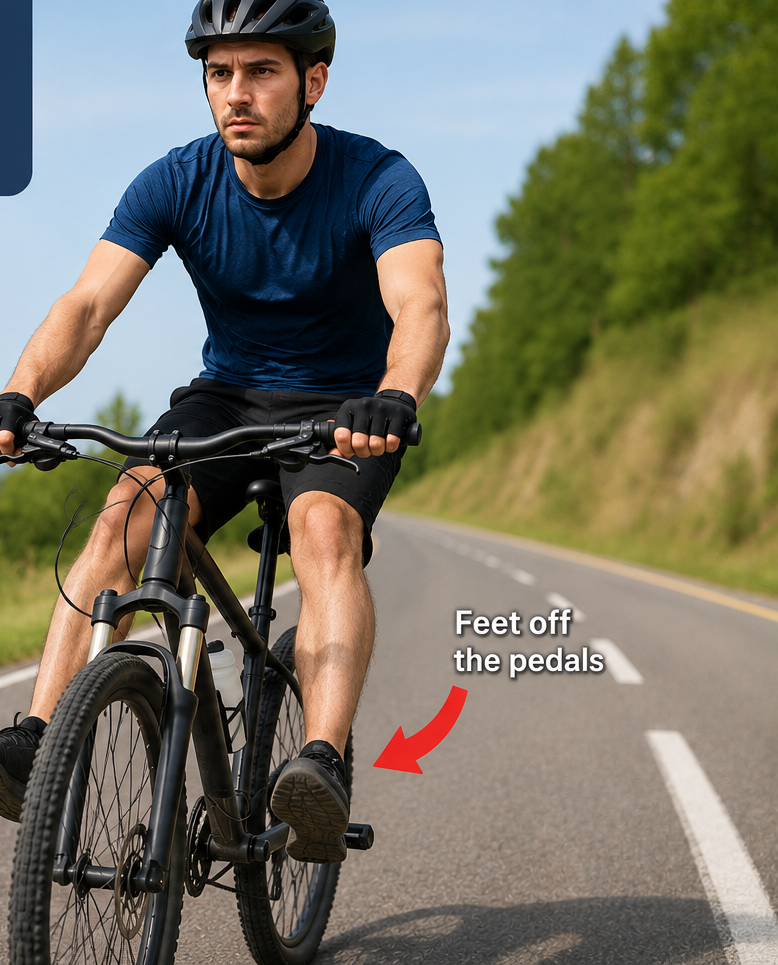
2. Stop Pedaling Immediately
Many riders continue pedaling without realizing it.
The moment you discover your brakes have failed:
- Stop pedaling.
- Keep your pedals level.
- Allow the bicycle to coast.
Without additional power from your legs, the bicycle will naturally begin slowing because of rolling resistance and wind.
This simple action can significantly reduce your speed over time.
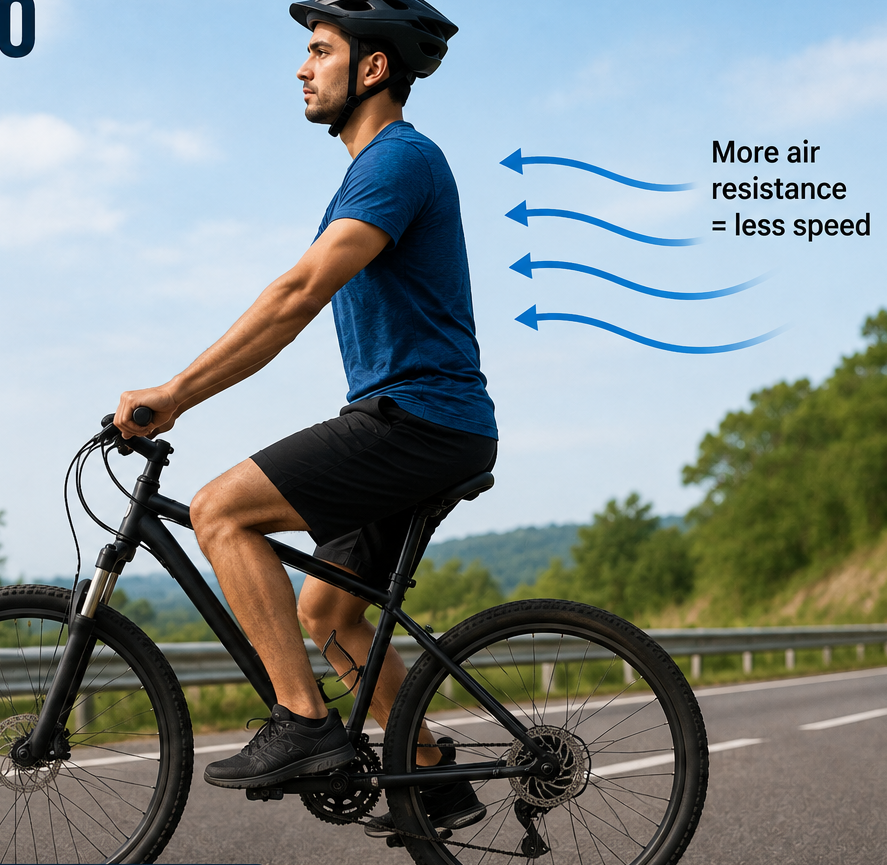
3. Sit Upright to Increase Air Resistance
Your body acts like a sail.
When riding fast, cyclists usually lean forward to become more aerodynamic. In an emergency, do the opposite.
Sit upright and allow your body to catch more wind.
You can also:
- Relax your shoulders.
- Keep your elbows slightly out.
- Stay balanced.
The increased air resistance creates drag, helping slow the bicycle naturally.
While this won’t stop you immediately, every little reduction in speed helps.
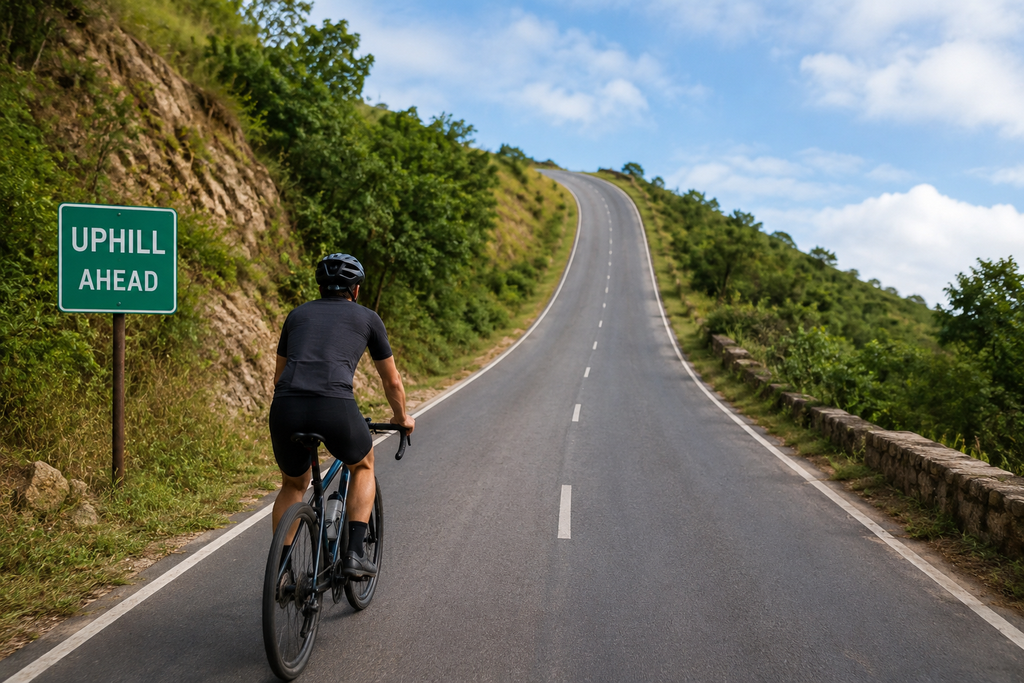
4. Ride Toward an Uphill Road
If you notice an uphill road, head toward it.
Gravity works against you when climbing, causing your speed to decrease rapidly.
Even a gentle incline can make a big difference.
Before changing direction:
- Check for traffic.
- Signal if possible.
- Turn gradually.
Avoid crossing busy roads or making sudden movements just to reach a hill.
If an uphill route is available safely, it is one of the best natural ways to slow a bicycle.
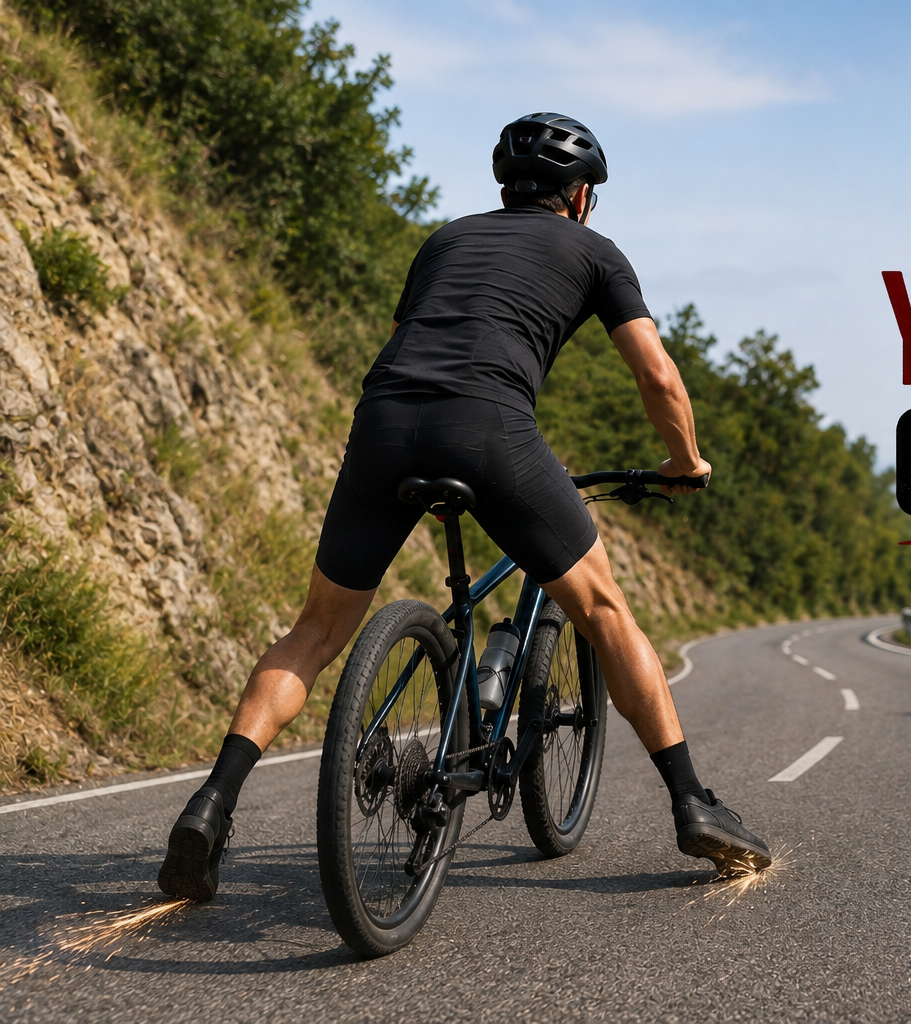
5. Drag Your Feet Carefully
Once your speed has dropped enough, you can use your feet to help slow the bike.
Here’s how:
- Remove both feet from the pedals.
- Place the soles of your shoes lightly on the ground.
- Apply gentle pressure.
- Increase pressure gradually.
Never slam your feet onto the pavement.
Doing so can cause you to lose balance or injure your ankles.
This technique works best at lower speeds.
Wear sturdy shoes whenever possible. Sandals or slippery footwear provide less control.
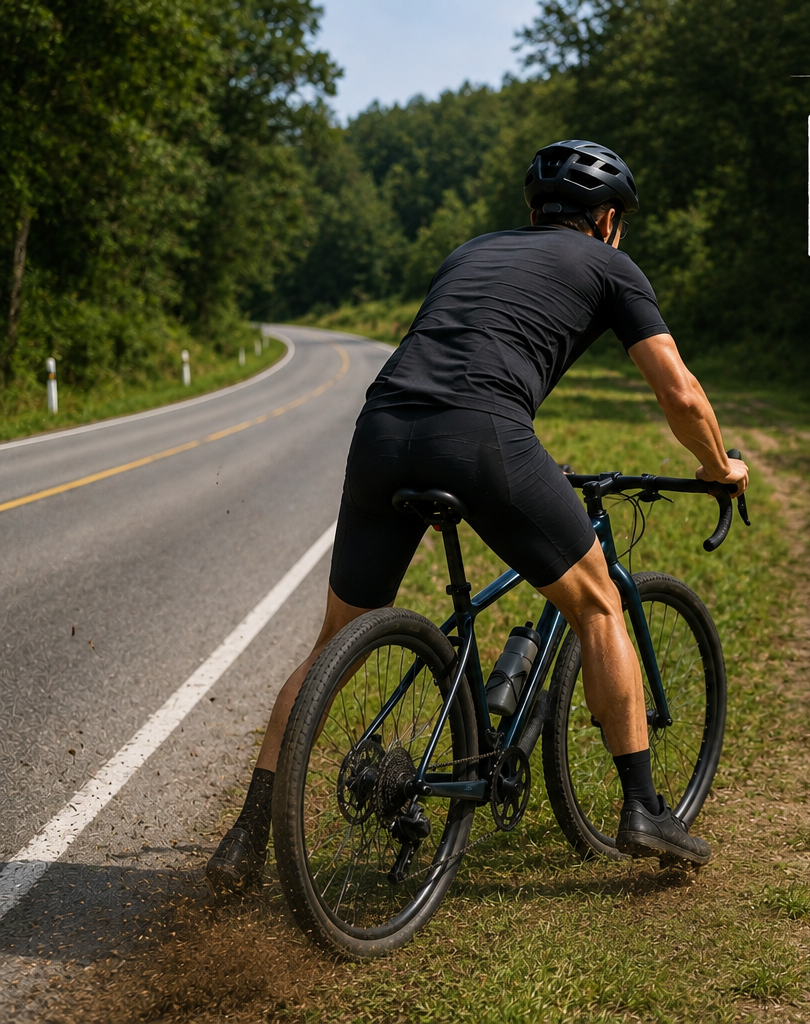
6. Ride onto Grass or Dirt
Smooth pavement allows bicycles to roll easily.
Grass, gravel, and dirt create much more rolling resistance.
If it’s safe:
- Move toward a grassy field.
- Ride onto a dirt shoulder.
- Choose a flat open area.
These surfaces naturally reduce speed.
However, avoid rough terrain filled with rocks, holes, or tree roots, as these can throw you off balance.
Always choose the smoothest soft surface available.
7. Make Wide Gentle Turns
Turning increases the distance you travel and slightly reduces speed.
If the road is clear:
- Make wide S-shaped turns.
- Keep movements smooth.
- Avoid leaning too aggressively.
Never make sharp turns at high speed.
A sudden turn can cause your tires to lose traction and result in a crash.
Gentle weaving should only be done when there is no traffic nearby.
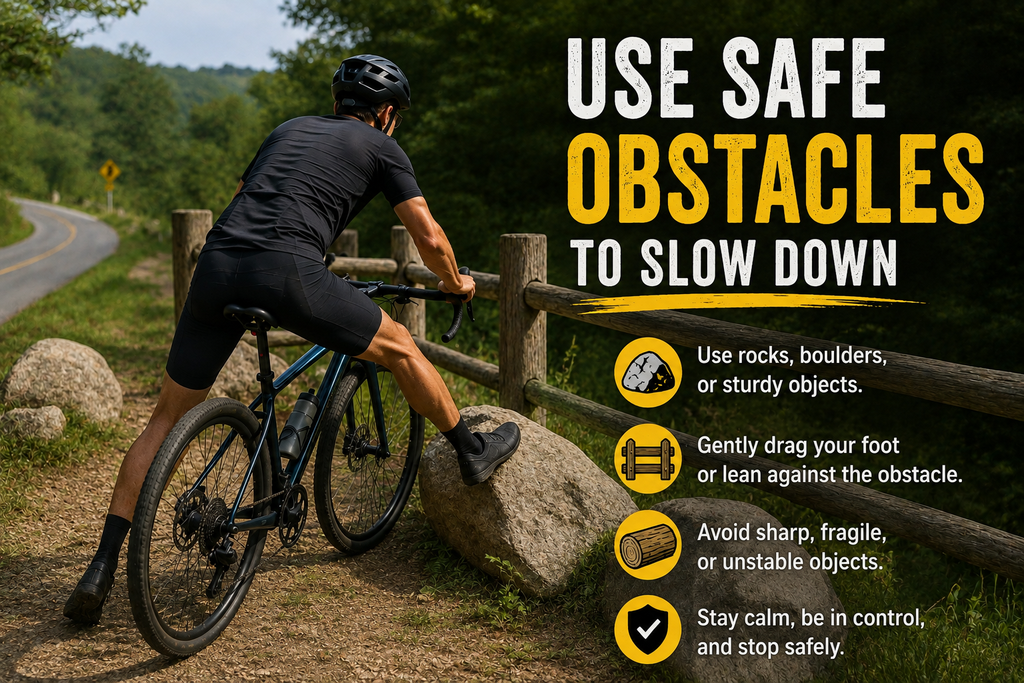
8. Use Safe Obstacles to Slow Down
Sometimes you’ll need extra help reducing speed.
Soft natural obstacles can absorb some of your momentum.
Examples include:
- Tall grass
- Bushes
- Shrubs
- Soft hedges
Brush against them gently rather than crashing directly into them.
Never aim for:
- Trees
- Concrete walls
- Guardrails
- Parked vehicles
- Utility poles
Solid objects can cause severe injuries.
Soft vegetation should only be considered as a last resort.
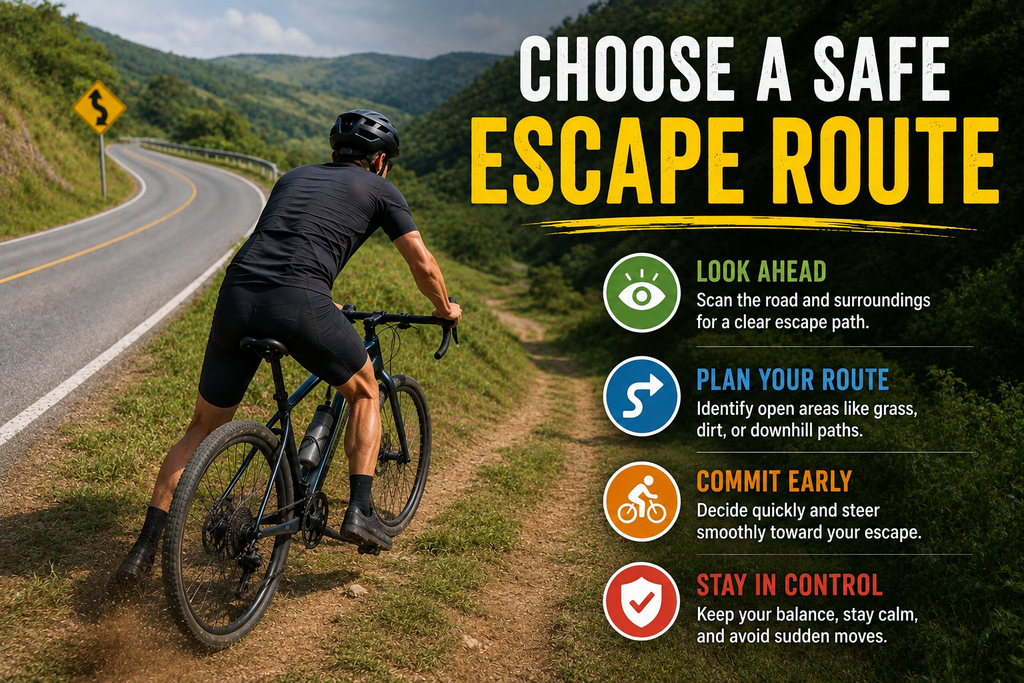
9. Choose a Safe Escape Route
Instead of focusing only on stopping immediately, think about where you can safely go.
Look ahead and identify:
- Empty parking lots
- Open fields
- Quiet side streets
- Wide sidewalks (only if clear of pedestrians)
- Bike paths
Avoid:
- Busy intersections
- Crowded sidewalks
- Heavy traffic
- Steep downhill roads
Planning your escape route early gives you more time to slow down safely.
Always keep scanning ahead.
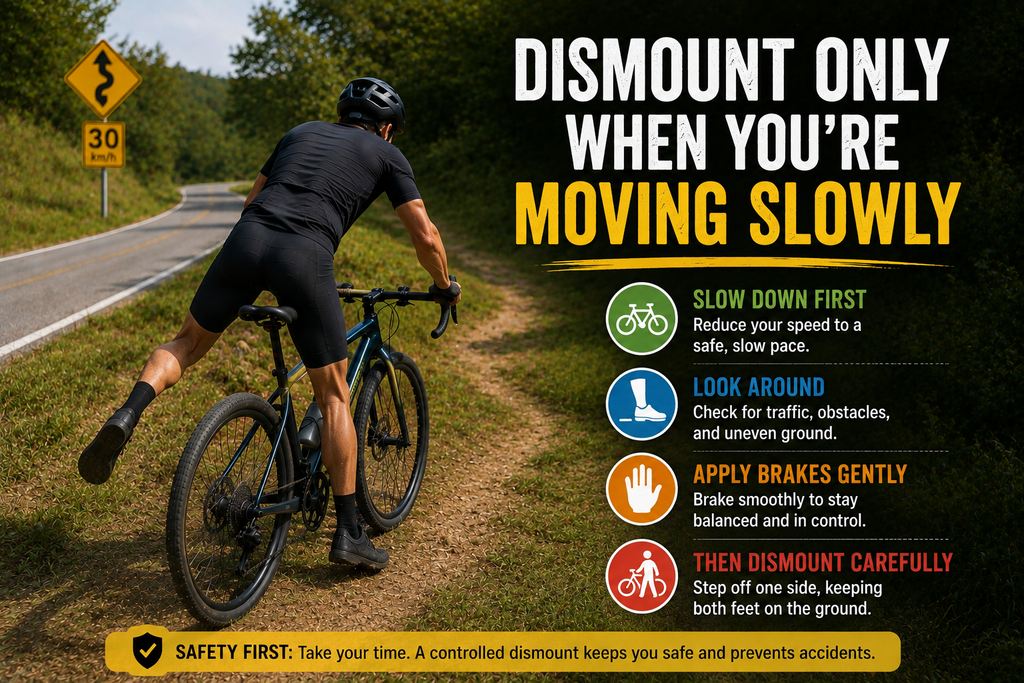
10. Dismount Only When You’re Moving Slowly
Jumping from a fast-moving bicycle is extremely dangerous.
Instead:
- Continue slowing down.
- Wait until you’re moving at walking speed.
- Step off carefully.
- Hold the handlebars.
- Walk alongside the bicycle until it stops.
If the bicycle is still moving too fast, stay on it and continue using the techniques above.
A controlled stop is always safer than an uncontrolled jump.
What Causes Bicycle Brake Failure?
Understanding why brakes fail can help prevent future emergencies.
Common causes include:
- Worn brake pads
- Broken brake cables
- Hydraulic fluid leaks
- Loose brake adjustments
- Dirty brake rims or rotors
- Damaged brake levers
- Poor maintenance
Regular inspections can identify these problems before they become dangerous.
How to Prevent Brake Failure
The best emergency is the one that never happens.
Before every ride:
- Test both front and rear brakes.
- Check brake pads for wear.
- Inspect cables for damage.
- Tighten loose bolts.
- Clean rims and brake rotors.
- Listen for unusual noises.
- Replace worn components immediately.
A quick two-minute safety check can prevent